
 Sign In

How to sew a couched edge finish
The other day, I was perusing the Bernina blog and came across a tutorial for an edge finish technique I’d never tried before – a couched edge using cord.
Susan over at We All Sew demonstrates this technique for craft and decorative projects such as book covers and wall hangings, but I wondered how it would look on a garment. It seemed like a fast and interesting alternative to piping, and one you could apply even after a garment is finished.
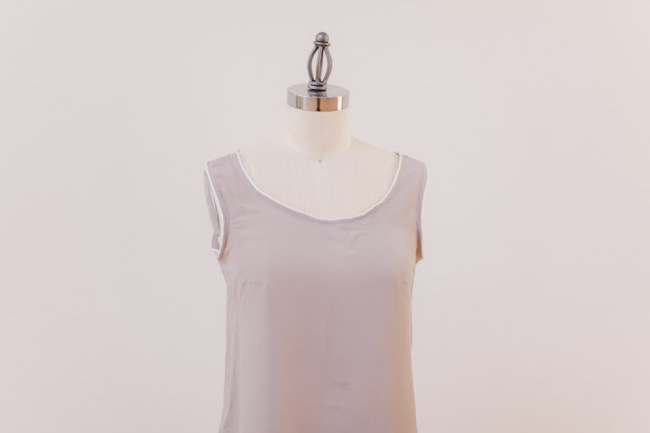
Basically, to do this, a purchased cord is sewn directly to the edge of a garment using a zigzag stitch.
For this technique, you use the #12 Bulky Overlock foot. I highly recommend this foot, not just for couching like this, but also for installing piping. It’s perfect, much nicer than a piping foot in my experience.
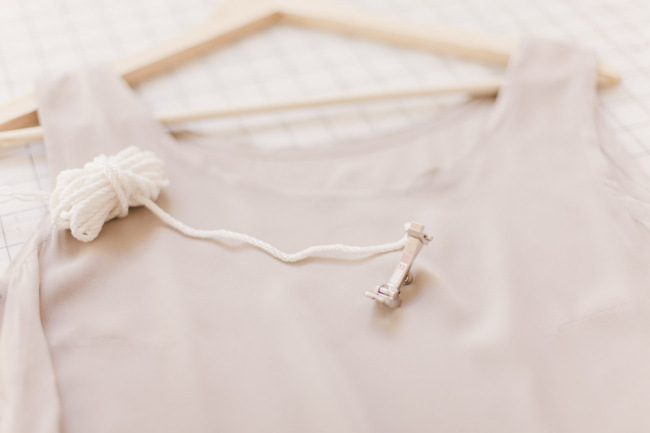
You’ll also need some cord. Bernina recommends 4-6mm cord.
The cord is sewn to the edge using a zigzag stitch. It can be attached to a finished edge (like this), or sewn on top of a raw edge, though that would be easiest with non-fraying fabrics.
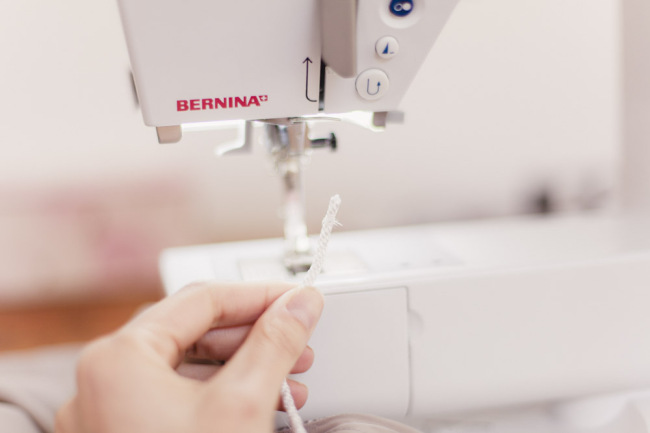
I backstitched over the end of the cord to keep it from unraveling as I began stitching.
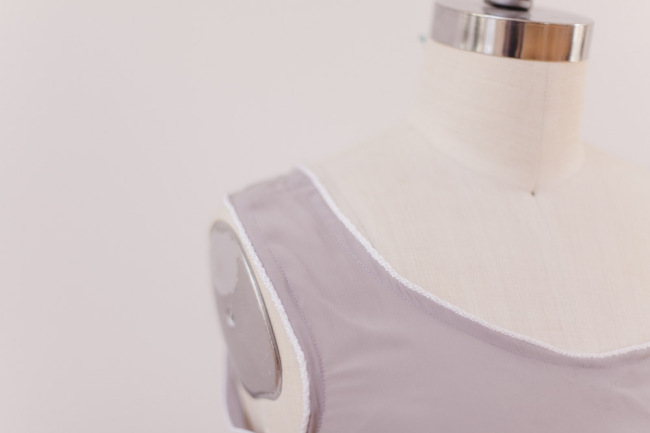
Ideally, you’d add the cording to an edge before sewing the seams, so that the edge of the cord is caught in the seam. But that won’t always work, in which case it can be sewn in the round, tucking the edges underneath at the start/end point.
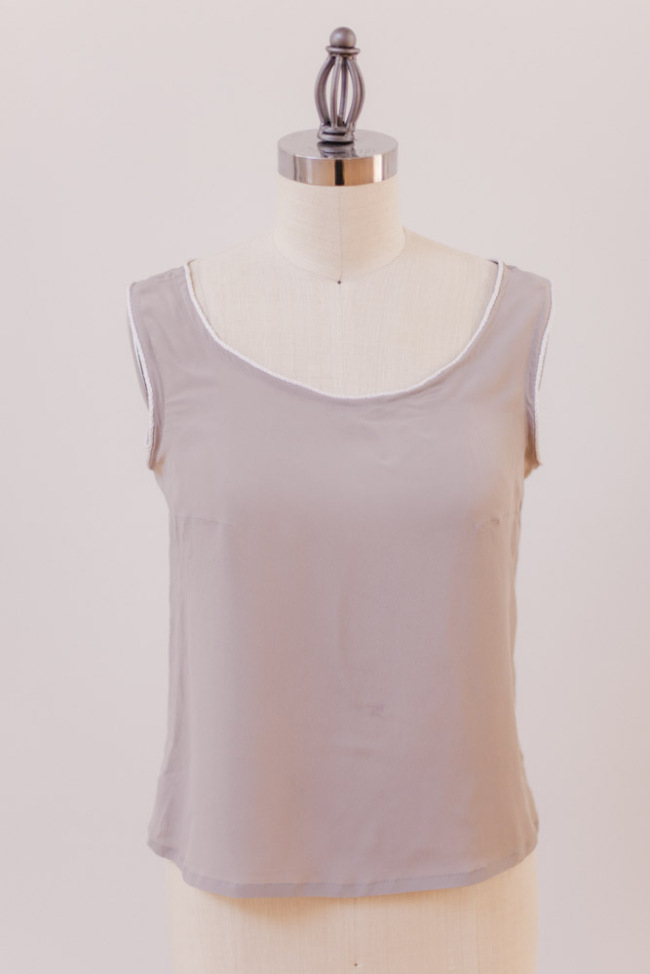
I think this technique would look really cool on a nautical-inspired garment. You could even use additional cording to create some surface details, by sewing it on top of the garment in rows or patterns.
You can read the full instructions on this edge finish over at We All Sew >
This post presented in partnership with Bernina, one of our sponsors this month. You can find more handy tutorials using incredible Bernina equipment at their blog, We All Sew, where I found this technique.
Comments
maddie
November 12, 2014 #
Neat detail! One of those little things that vamps up any project. Thanks for the tut!
Jet Set Sewing
November 12, 2014 #
I love, love, love that foot. I just used it on a wool jersey 50s Claire McCardell dress to make and attach piping, as well as yards of corded tie strings, that I then attached to the dress using the foot again. I never would have been able to pull it off without the bulky overlock foot.
sj kurtz
November 13, 2014 #
I knew you’d be here! Ms Jet Set did a smart job with that on the McCardell.
This cotton cording was a staple in homesewing in my old neighborhood (the land of the three armhole wrap), I think it was more of an aspirational detail (“See what I can do with this crummy Kenmore and this ten cent cotton!”) than a practical one.
And that Kenmore doesn’t seem so crummy to me now!
Jane
November 13, 2014 #
This is a great idea and I’m just about to start a lovely nautical dress for my daughter. Thank you!
Victoria
November 18, 2014 #
I love this idea, however I have a question. Does this foot work on all machines? I have a Viking and have never purchased any additional feet. Are feet brand specific? I’d love to try this technique.
Sarai
November 18, 2014 #
This particular foot is the Bernina foot, so you’d need to find something similar for a different brand machine. Bernina is really known for having a TON of specialty feet.