
 Sign In

4 Tips for Setting Snaps
In my work as a sewing instructor the number one sewing fear that most of my students expressed to me was closures. Zippers and buttons being at the top of that list. But the closure that intimidated the most intermediate sewists was set-in snaps. Maybe it is because you can navigate your way around setting snaps with alternatives, like sewn snaps or buttons, but something about the finality of set-in snaps stops a lot of sewists in their tracks.
This month’s pattern of the month is Adelaide, an easy to wear snap-front tank dress. Armed with just a few tips, you will find that snaps are easy, fun, and not all that intimidating.
Get Acquainted
Set-in snaps consist of four parts that work together to create a strong closure.
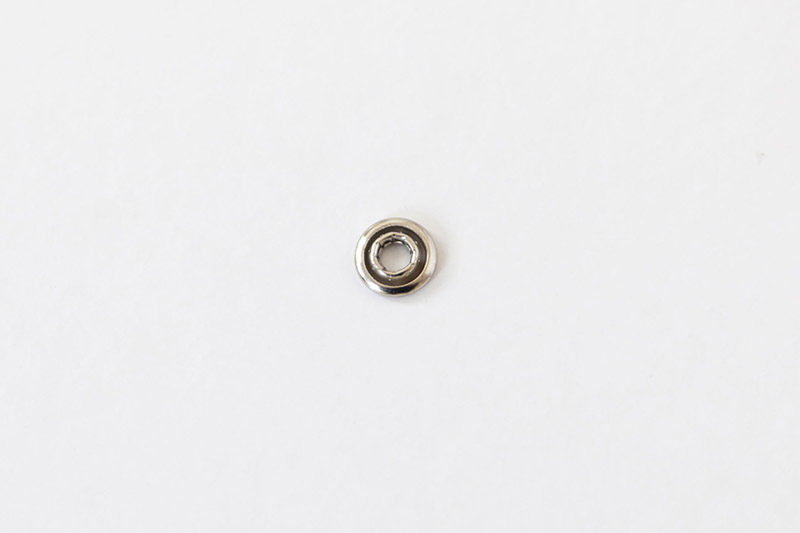
THE SOCKET: This is the female component of the snap. The socket is round with a small hole in the center. One side of the socket is slightly raised; this is the side that attaches to the snap cap.
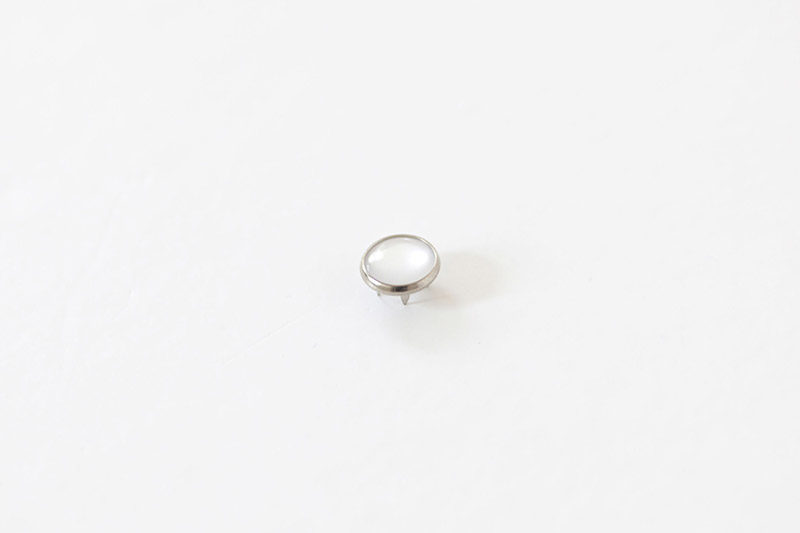
THE SNAP CAP: The decorative part of the snap. This is attached to the outermost layer of the project, and corresponds with the socket.
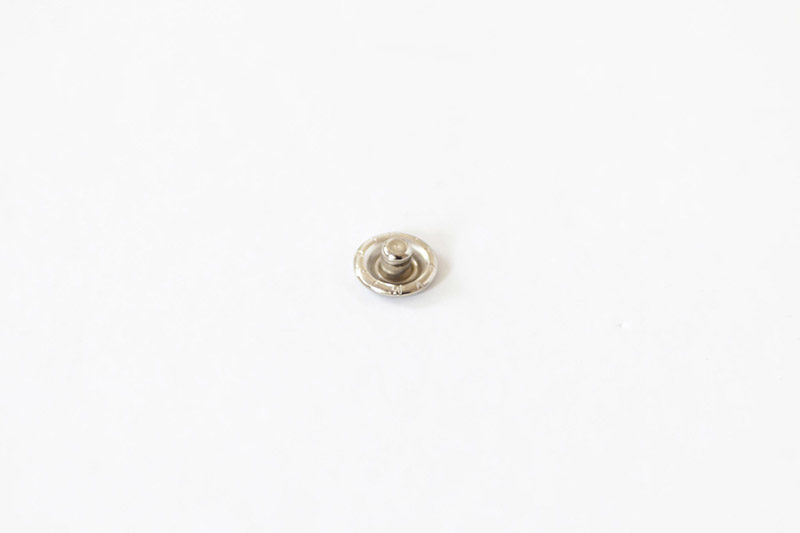
THE STUD: The stud, sometimes referred to as the ball, is the male component of the snap. The socket and the stud interlock together to form a strong yet easy-to-use closure. The stud is attached to the fabric using the open prong.
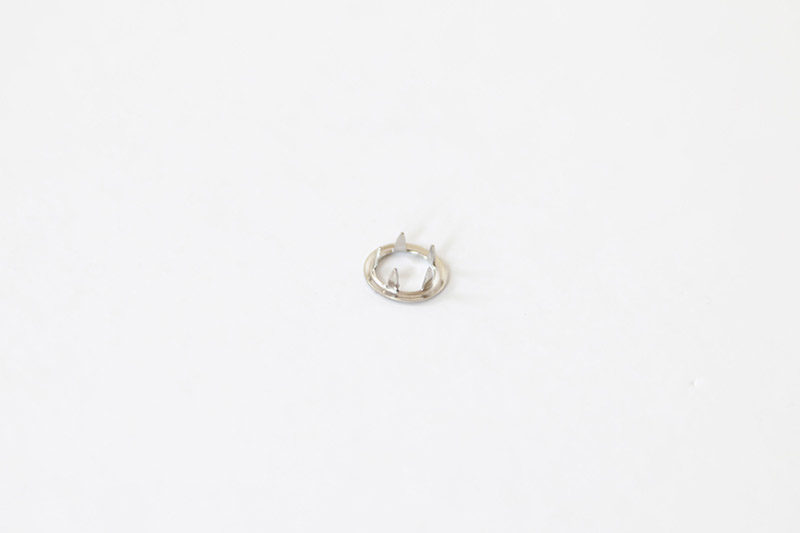
THE OPEN PRONG: The pronged ring is the innermost part of the snap and has a smooth surface. This ensures comfort since this unit is what lays closest to the body.
Perfect Fit
The size of your snap directly corresponds with the size of your snap setter. This means if you are using a size 16 snap you MUST use a size 16 setter. This is absolutely key, otherwise you might end up with partially secured snaps or dents/cracks in your snap cap.
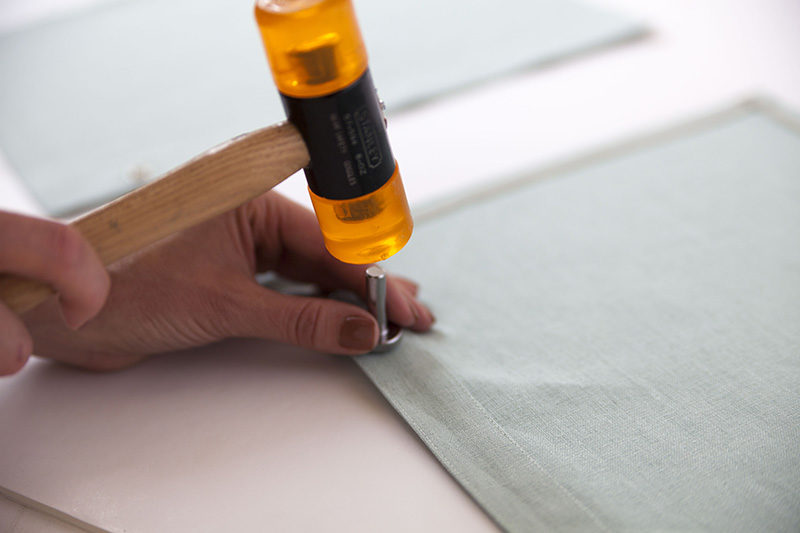
Prep is Everything
This is not a new concept to sewists, but nonetheless it is vital!
Take into consideration the weight of your fabric and how many layers the snap prongs will be passing through. If your fabric is medium weight or lighter, you will want to interface the area where the snaps will be applied.
Snaps are best used in areas where the prongs will be passing through at least three layers of fabric or interfacing. Sew-in or fusible interfacing can be used to reinforce your project.
If the snaps will be passing through 4 or more layers, consider purchasing long-pronged snaps.
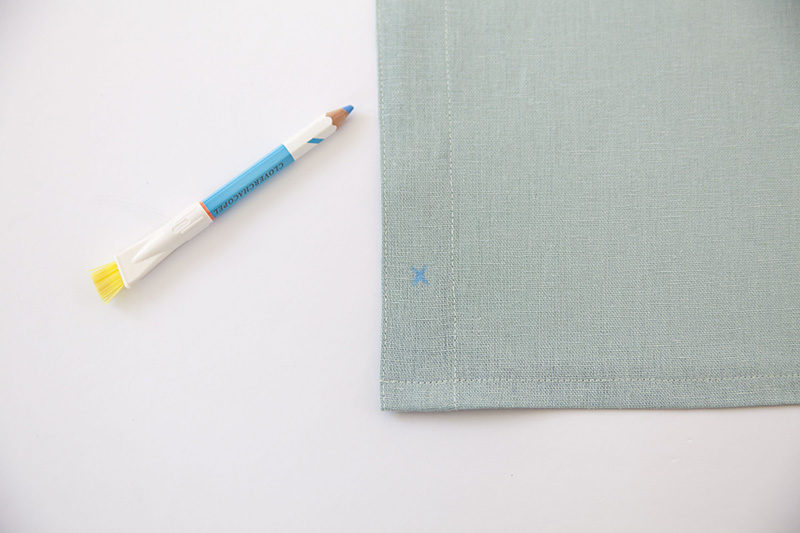
Marking is also important, and when it comes to snaps, there is no such thing as too much marking! I like to mark the right side and the wrong side of the snap placement with aligning Xs, ensuring that all the corresponding peices line up impeccably.
Removing Snaps
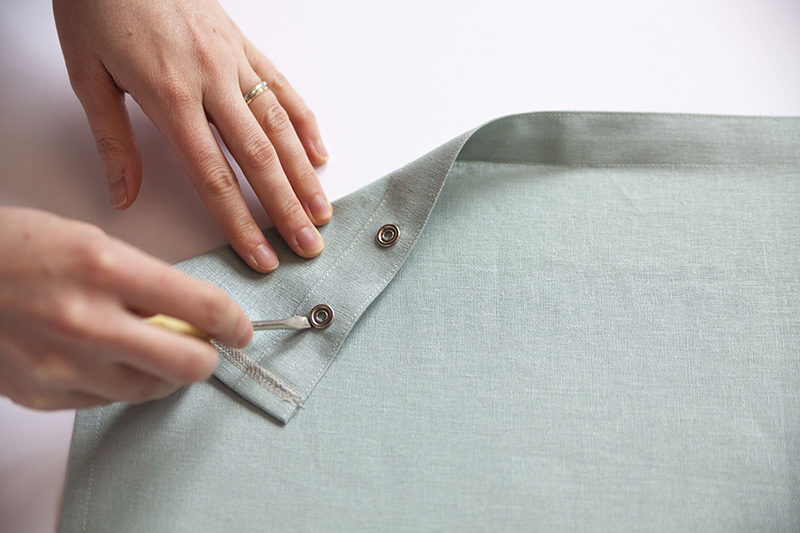
If you need to remove a snap, don’t sweat it! A flat-head screwdriver can be used to carefully lift the socket and stud away from the prongs fastening them to the fabric.
Gently work your way around the perimeter of the snap, gradually lifting it away from the fabric. If the snap is proving to be very stubborn, try flipping the project over and lifting the pronged side with the flat-head screwdriver. Once released, discard the used snap.

Want to read more on setting snaps? Jump on over to Seamwork Magazine to read the full article! And don’t forget that through this month Adelaide is just $5!
Are you team snaps or team buttons?
Comments
SJ Kurtz
May 18, 2016 #
The key to snaps for me has been getting ones with prongs that will hold. Snapsetter makes great snaps in many sizes with a setter system that will not let you down; it’s hard to hit it off to one side, which is a common fail point. I’ve used mine for years, and have only had fails when the fabric was too thick.
Haley
May 19, 2016 #
I love the Snapsetter brand snaps! Their setting tool is so fool proof!