
 Sign In

Tutorial: 5 Simple Blanket Stitch Variations
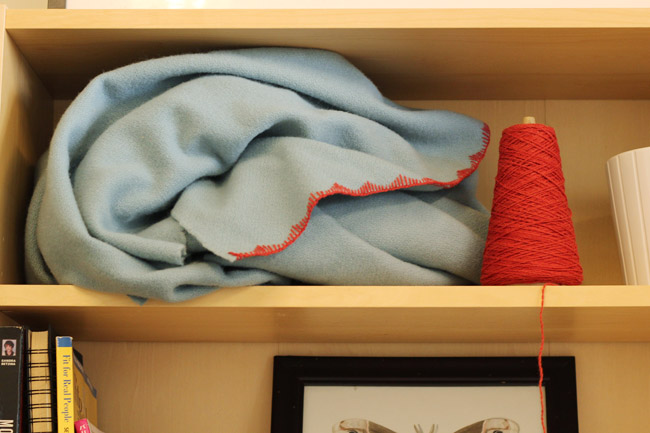
Back in August, I saw a partially sewn blanket stitch throw collecting dust on a shelf at the office. Sarai started it last winter, but ran out of steam and set it aside.
After examining her work, I was inspired to revive the project. I’ve found it to be a nice task to do when other work gets stressful. Handsewing gives the mind a nice break while keeping the hands busy on something productive.
Want to make your own blanket with this handsewing technique?
If you’ve never made one before, use Sarai’s Easy Blanket Stitch Throw Tutorial.
If you’ve got the basic blanket stitch down and want something a bit more exciting, try one of the following stitch variations.
Graded Blanket Stitch
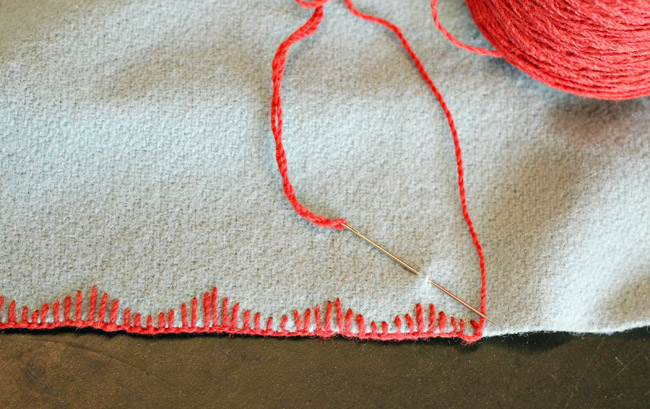
Begin with a short anchor stitch, gradually increase to an apex point, then decrease again. This gives a nice scalloped effect.
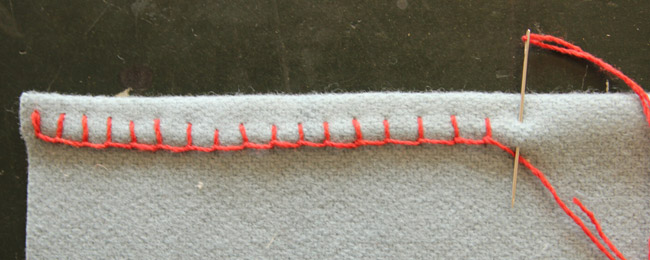
Spaced Blanket Stitch with Running Stitch
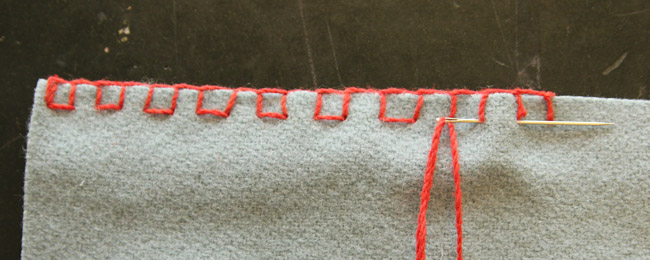
After completing your basic blanket stitch around the entire throw, go back to the beginning and add a running stitch along the anchor stitches. Space them to create boxes, or a single snaking line.
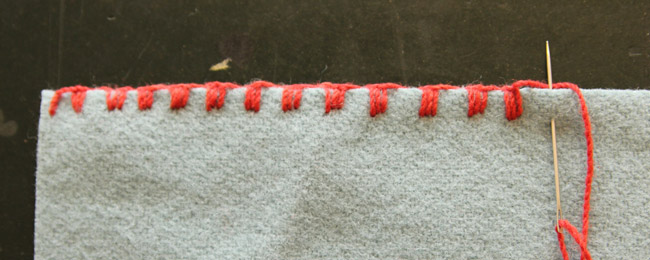
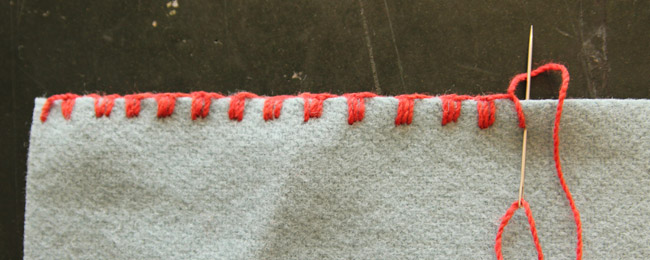
Group of 3 Blanket Stitches
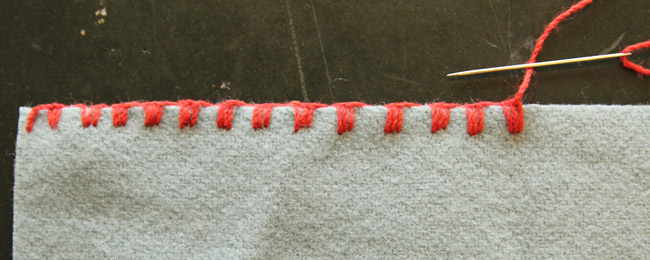
Here, you are butting three anchor stitches against each other.
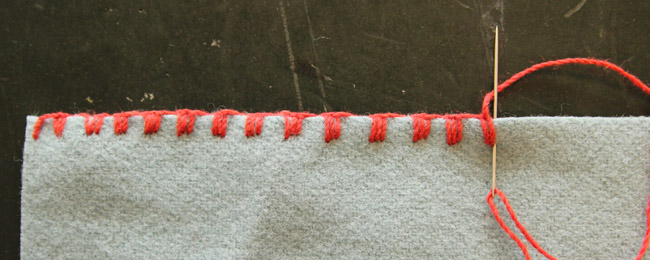
After the third stitch, move down a bit and cast three more stitches.
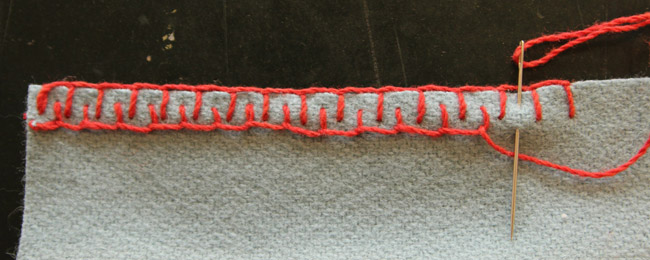
Blanket Stitch with Loop on Inside
The loop of the blanket stitch is what usually keeps the raw wool edge from unraveling. Since this variation has the loop inside the fabric, you will need to create a turned edge.
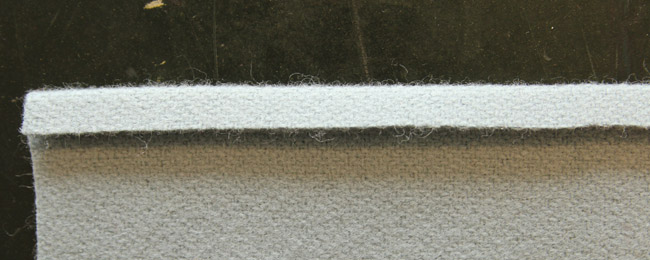
Turn the edge of your wool under 1/2″ and press.
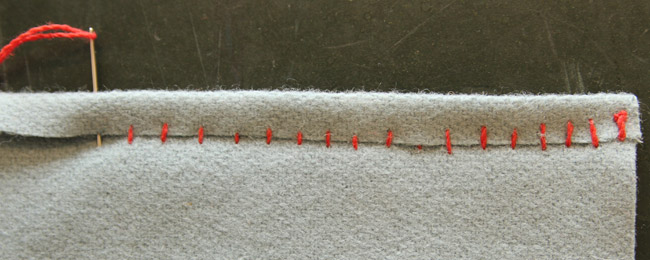
The back of your anchor stitches should catch the raw edge.
Double Blanket Stitch
This can be used on a raw edge, since the reversed row of blanket stitching is purely decorative.
Tip: Experiment with the spacing of your loops and length of your anchor stitches. With these simple variations alone you can create a wide range of looks, from asymmetry, to big bold shapes, to delicate detailed lines.
Comments
Daphne
October 7, 2013 #
These are cool!
Saved it for when im going to make some cute blanckets, then i can use these stitches!
VMB
October 7, 2013 #
It’d be handy to see a follow-up tutorial for how to end/join thread when hand-sewing exposed edgings such as these. How is it done so little ends of thread stay hidden/fixed and aren’t poking out everywhere?
Rachel
October 7, 2013 #
Great question! We were just trying to get away with trimming the knot tails, but I’ll let you know if I can find a better solution.
kc
October 8, 2013 #
For adding a length of new yarn, I would try a weaver’s knot:
http://peggyosterkamp.com/peggys-weaving-tips-weavers-knotpart-ii-short/
It’s really strong, it is easy to position/hide, and the loose ends can be cut very close to the knot itself without damaging the knot’s strength (as long as you pull it really tight). I use it in bookbinding and embroidery. It’s great because you can keep stitching without having to knot off one length of thread/yarn and start another, you just tie onto the piece you’re already working with and keep going.
Rachel
October 8, 2013 #
Fantastic, thanks for sharing!
Catherine
October 8, 2013 #
i used to love doing blanket stitches when i was little and i forgot how to do them! you have reminded me to try them again soon!
Fabric Depot
October 8, 2013 #
This is such a great twist on the traditional blanket stitch! The scallop effect would be perfect on a baby blanket… or any blanket for that matter! We love your tutorials! Keep them coming!
kelli
February 5, 2014 #
What kind of blanket material is that? Wool? Fleece?