Tutorial: Hawthorn Crop Top Variation
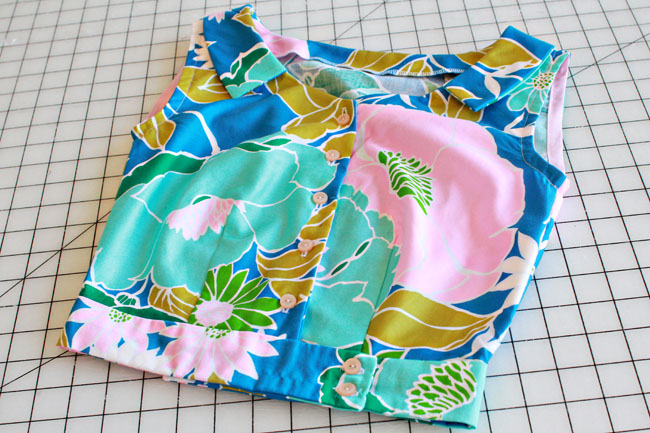
I’m so glad you all liked my Hawthorn Wearable Muslin Crop Top! There are many different ways to turn a dress bodice into a top, so I’ll show you the method I used for this variation.
Step 1
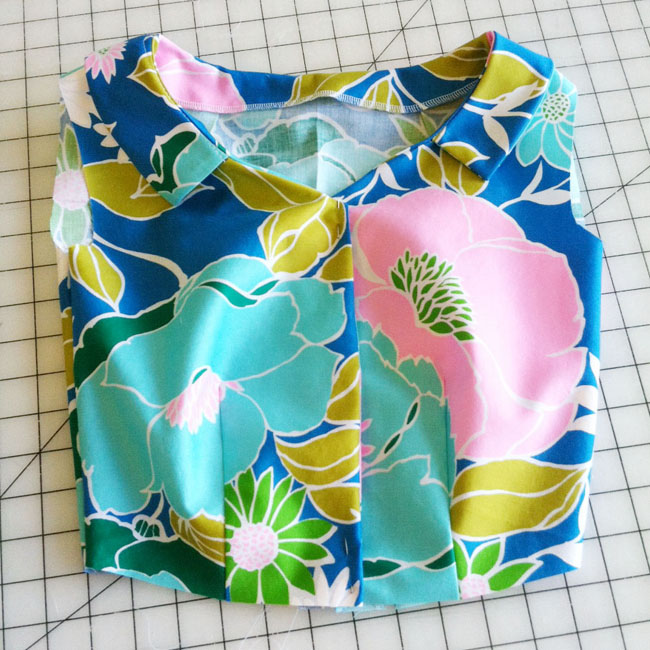
- Construct your bodice according to the Hawthorn instructions, including sleeves, collar and facing.
Step 2
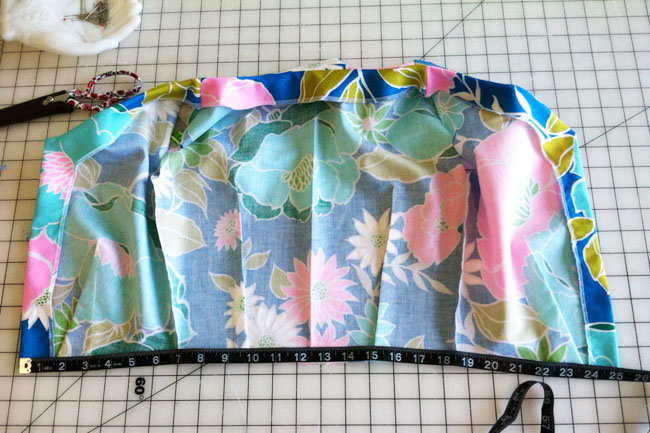
- Lay out the bodice and measure the width. This number, plus seam allowance, is the minimum amount of length you will need for your waistband.
Step 3
-
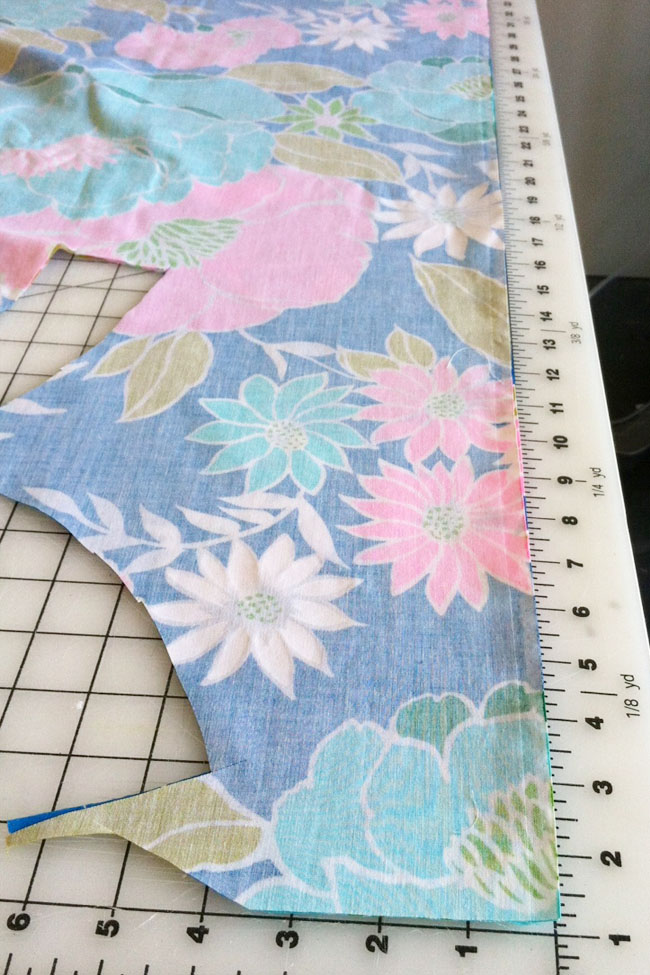
Measure the width of your waistband. I wanted my waistband to be 1 ½” thick, and to utilize the unused fabric along my salvage, so I measured up 3”
- Measure the length your waistband. I chose to have 4” extra for the lapped closure (a bit less than my first crop top) giving me 2” on either side of the center front closure.
Step 4
-
Mark in your ⅝” seam allowance plus lapped closures and sew, leaving the top edge open.

Step 5
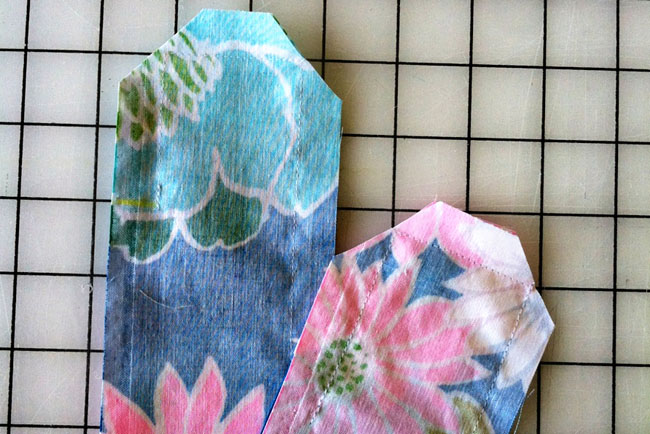
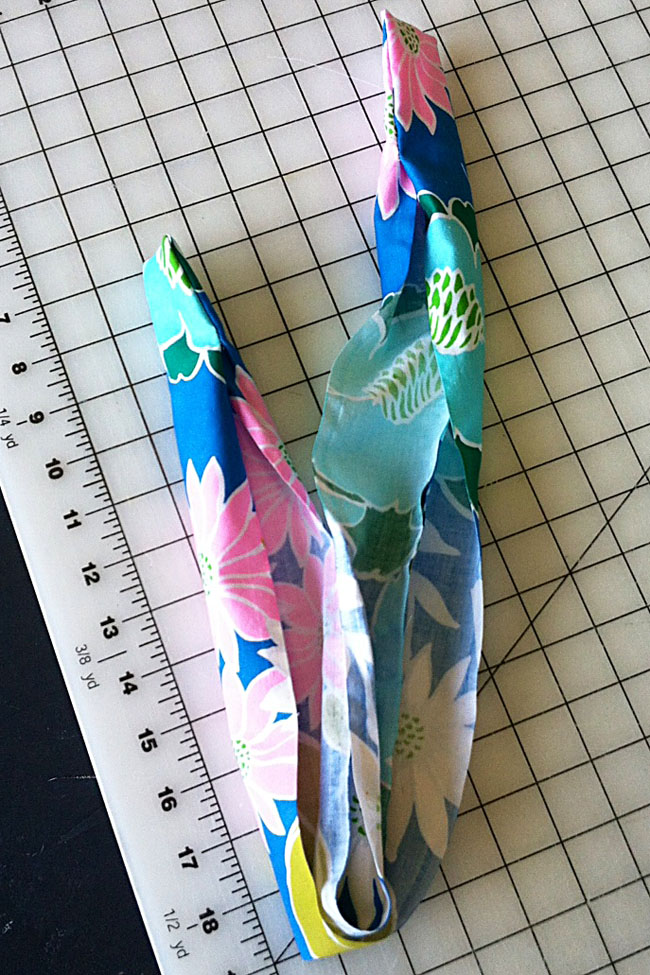
- Clip corners and turn right side out.
Step 6
- With right sides together, pin outter edge of the waistband to bodice hem.
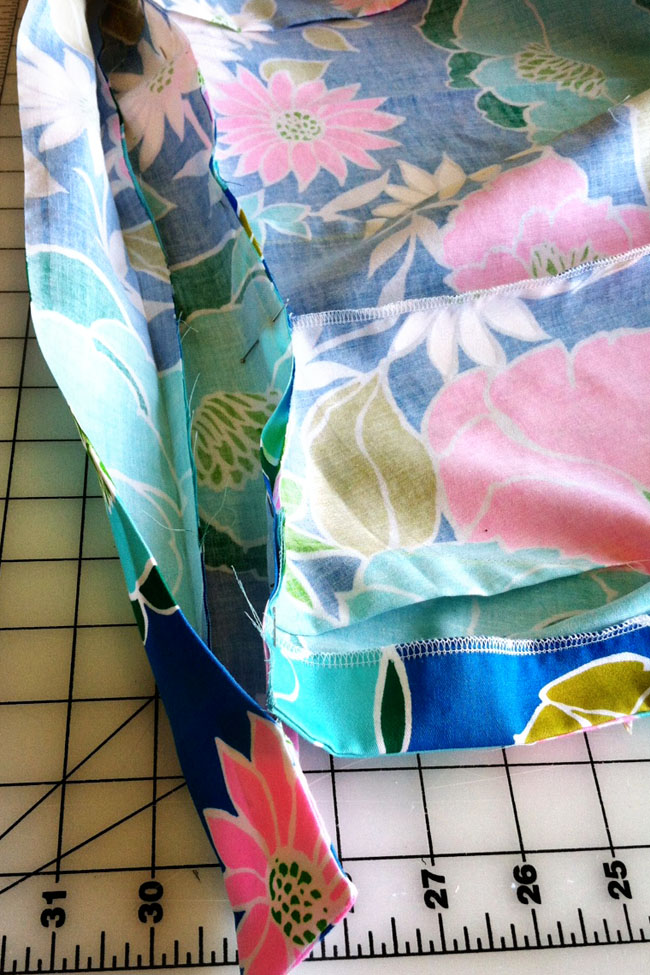
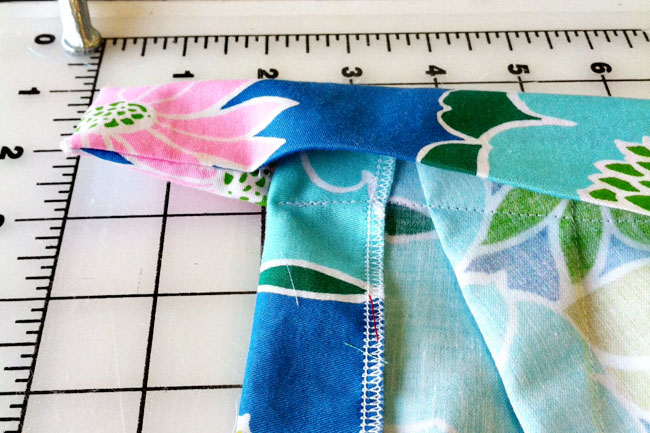
- Stitch as close to the ends as possible, but don’t worry about sealing them off completely. A few handstitches will finish things off.
Step 7
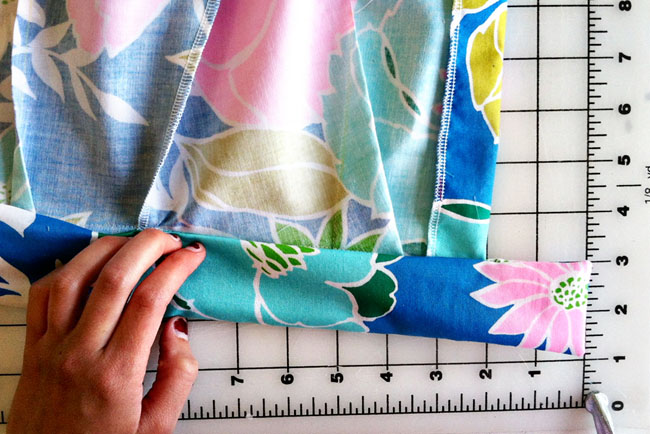
- Turn waistband edge under, covering the bodice seam, and press.
Step 8
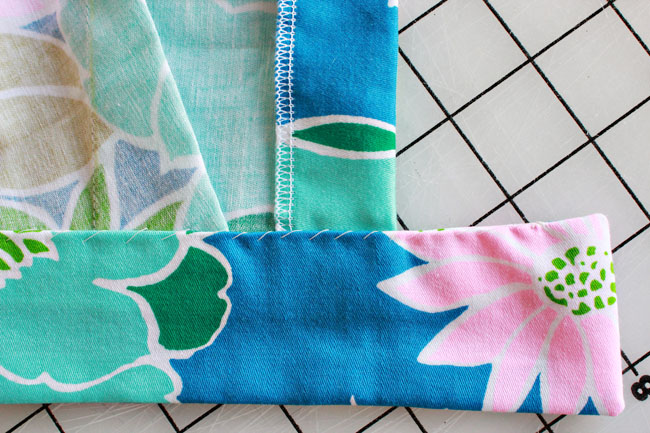
- Handstitch closed. I prefer using a whip stitch, but you can also use a catch or slip stitch.
Step 9
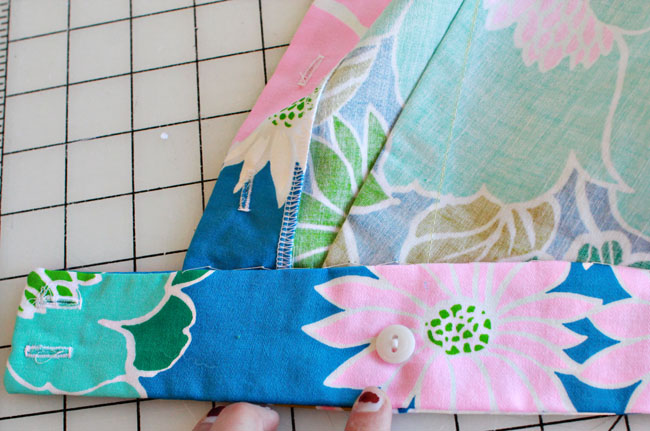
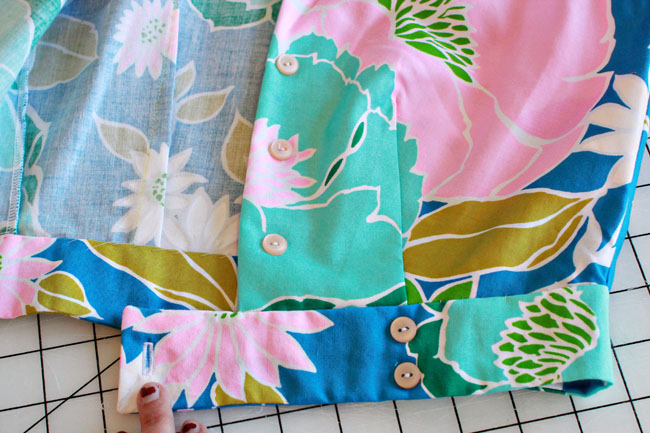
- Sew button holes and attach buttons, adding 2 extra buttons at the right waistband and 1 inside on the left.
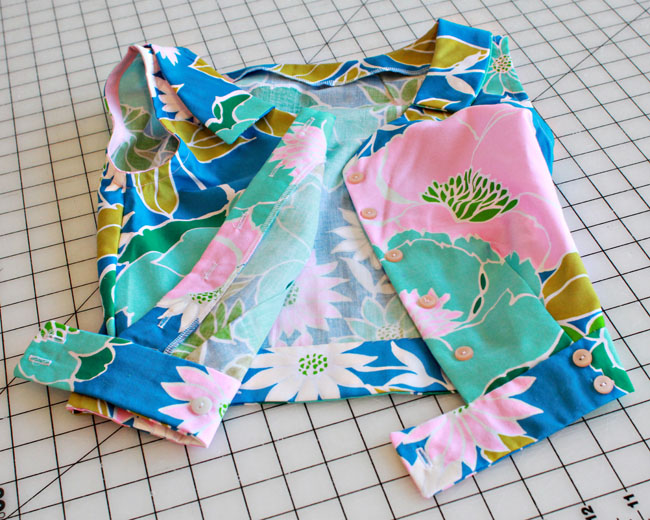
Et Voilà!


 Sign In

Comments
Trollemor
August 2, 2013 #
Man, If I only had a waist like that. Until then, I`ll stick to my hawthorn dress:)
Lorraine
August 2, 2013 #
That’s a great, clear tutorial and yes, fab figure!
Jeanine
August 2, 2013 #
Super cute! I love tutorials like these!
Glamaris
August 2, 2013 #
Gorgeous! I’m going to print it out and keep it with my Hawthorne pattern for future reference :)
Joyce
August 2, 2013 #
I have to admit I was baffled momentarily that Step 5 had us turn the waist band right-side out, then Step 6 had “right sides together”. I had to look a couple of times to understand that it was the right side of the waistband & the right side of the crop top……..had trouble keeping my “right-sides” sorted out. Too many of them.
Rachel
August 2, 2013 #
Thank goodness for pictures! They always help me clarify with pieces are being stitched together.
meredith
August 2, 2013 #
Delightful! I love the floral, too.
Mes ptits titis
August 2, 2013 #
Très joli,j’aime beaucoup, vous pouvez venir voir mes sorbetto sur le blog
bon week end
Meghan
August 2, 2013 #
Super Cute!! Love the fabric!