
 Sign In

Project Diary: Sarai’s dark plaid Rue
For years, one of my favorite fall dresses has been a vintage plaid flannel sheath dress I picked up at a flea market. It has that cozy, vintage twin peaks vibe that I love.
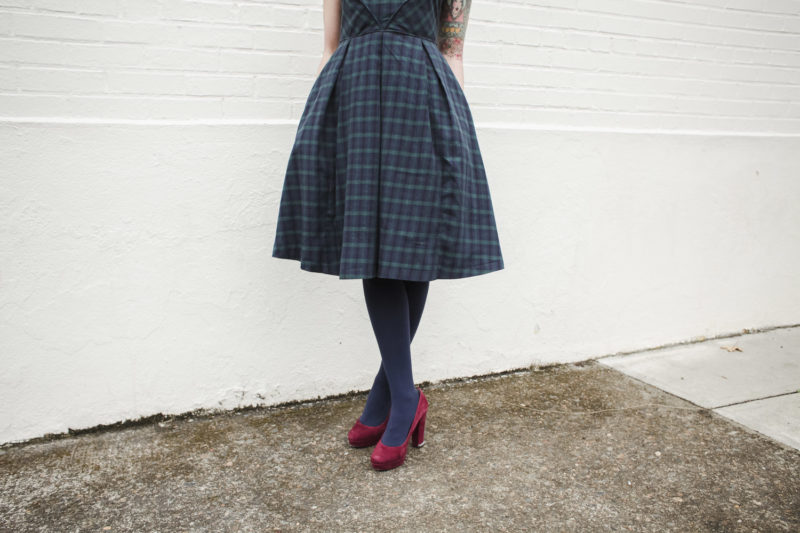
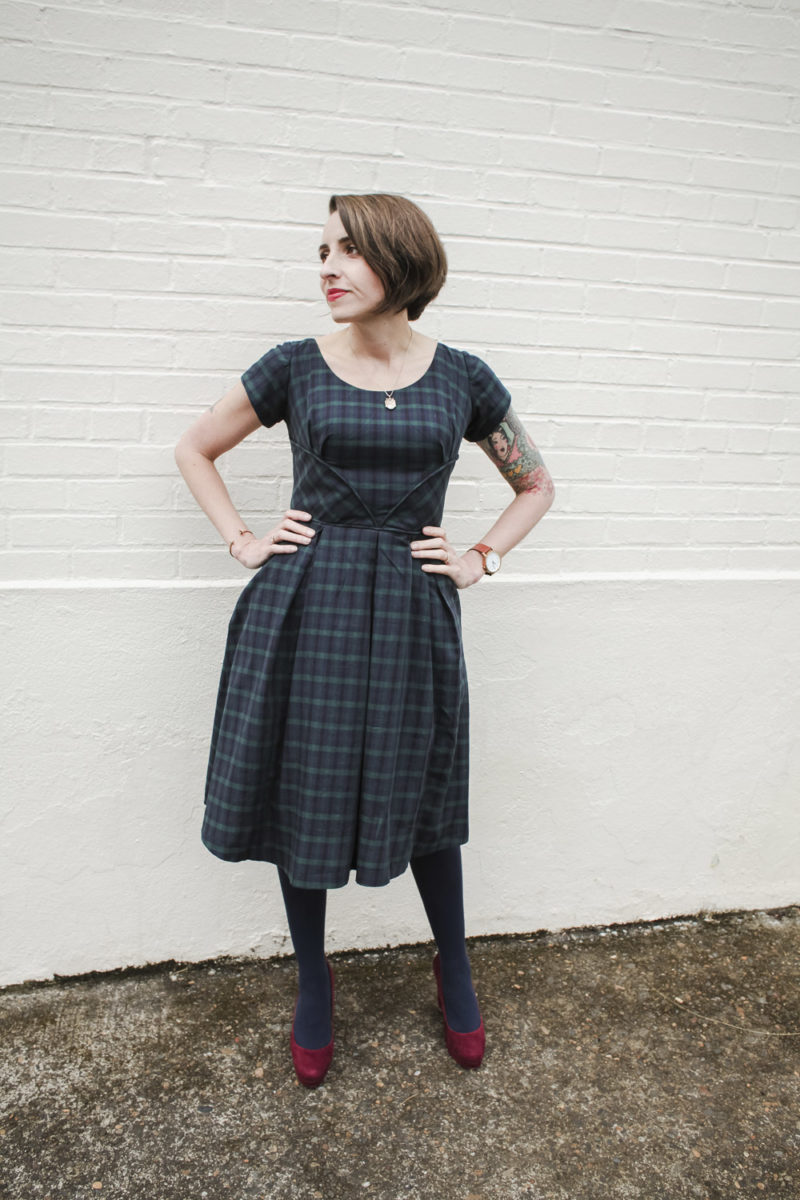
This fall, I wanted to make another plaid dress, but this one with that classic full skirt 50s shape. When we started working on Rue, I was pretty excited. Those waist panels are just screaming for a fabric that lets you play with direction.
Finding the fabric
At first, I thought I might go for a brighter plaid, maybe something in red! I was really inspired by this dress worn by Nora on Instagram (doesn’t she look amazing?).
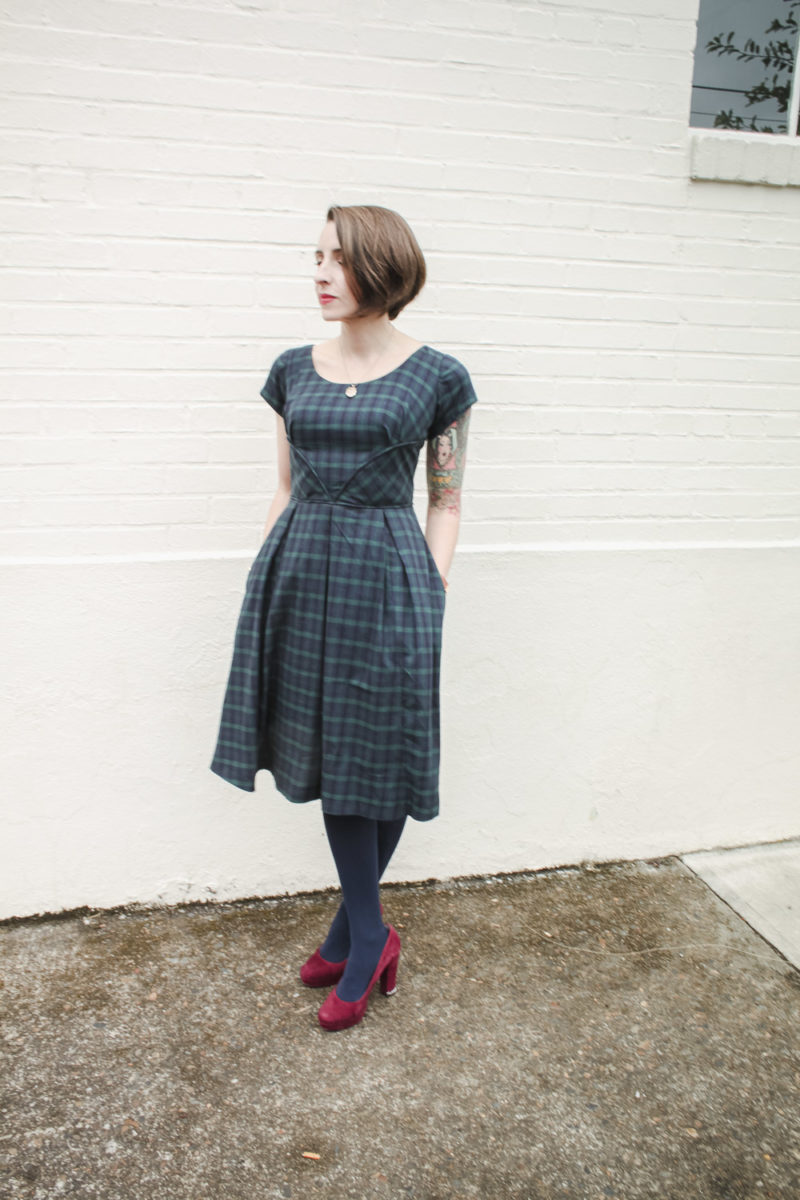
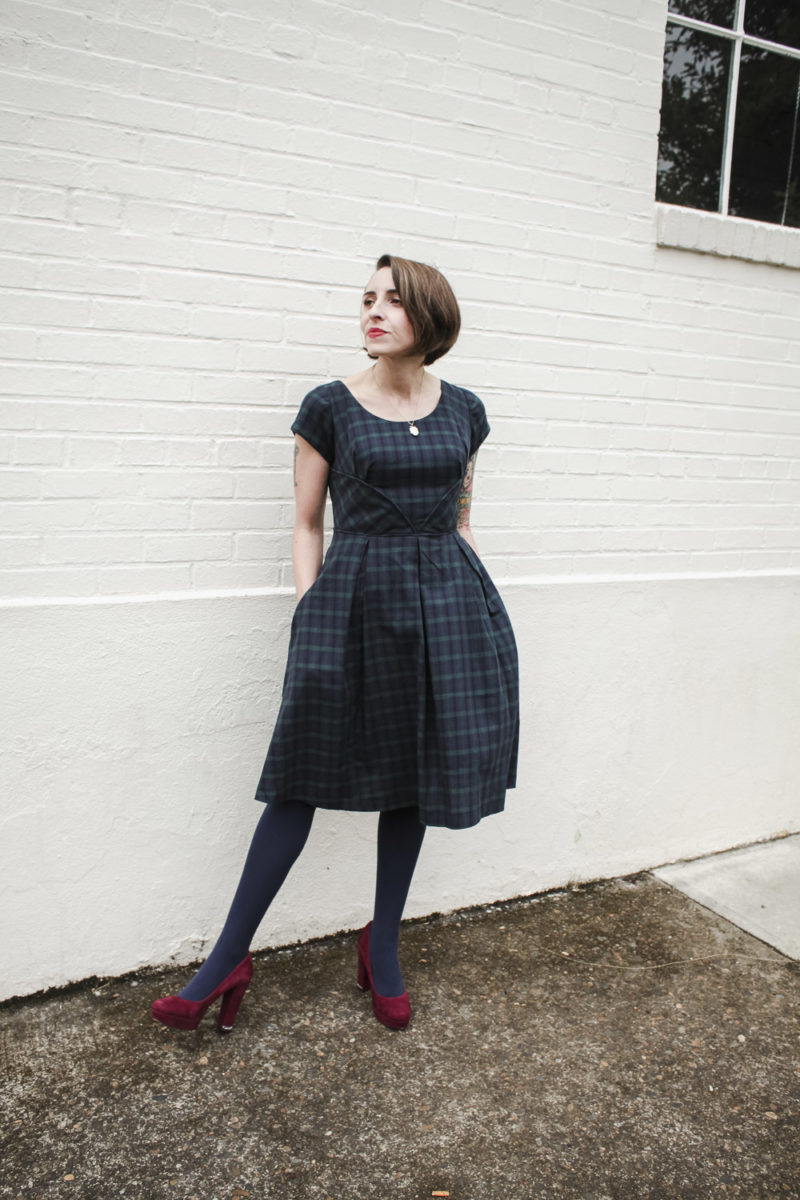
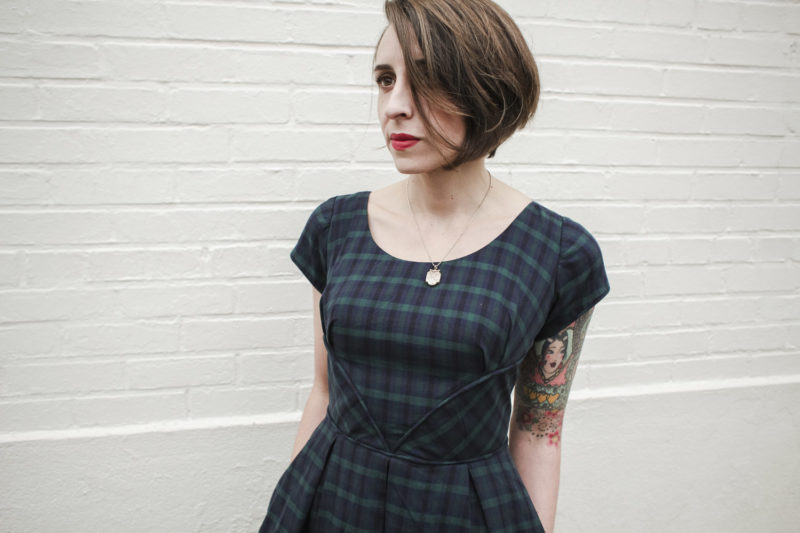
When it came time to actually buy fabric, all I could think when I looked at all the red plaid fabrics was “christmas.” I looked at some other brightly colored plaids, but in the end I went with something more versatile and closer to my original inspiration: A blue/green black watch plaid.
The fabric is just a basic flannel shirting. Flannel works pretty well for this dress because it’s fully lined, so you don’t have to worry about the static and clinging so much.
The only thing to watch out for is that flannel tends to be pretty loosely woven, and you can get a LOT of stretching. Be sure to staystitch meticulously as the pattern instructs, and try on your dress as you go to see if you need any adjustments.
My changes and details
Here are the details and personalizations I made:
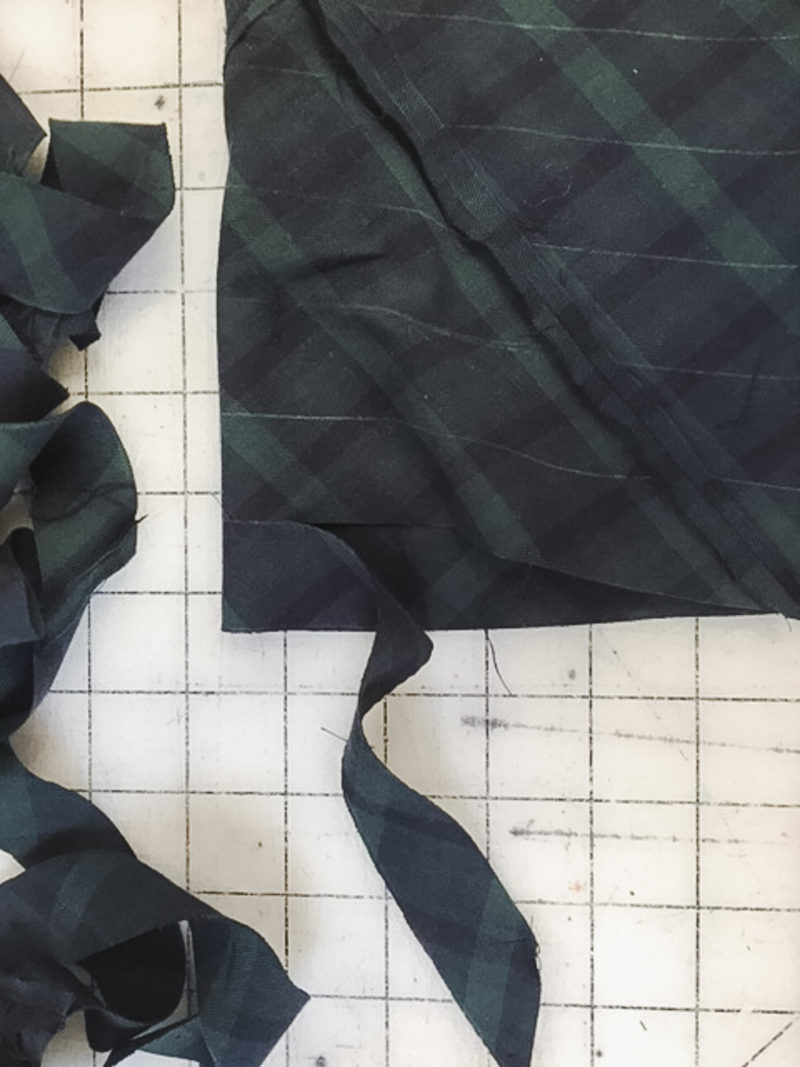
- Matching plaids: I bought extra fabric (4 yards for a size 4) so that I could match stripes. Cutting is a bit of a pain with flannel because it does tend to shift. I cut the pieces on a single layer so I could make sure everything would line up.
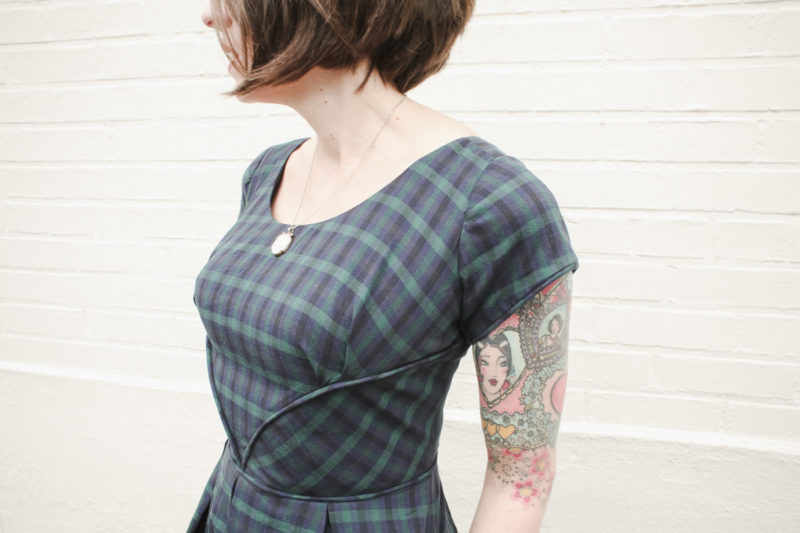
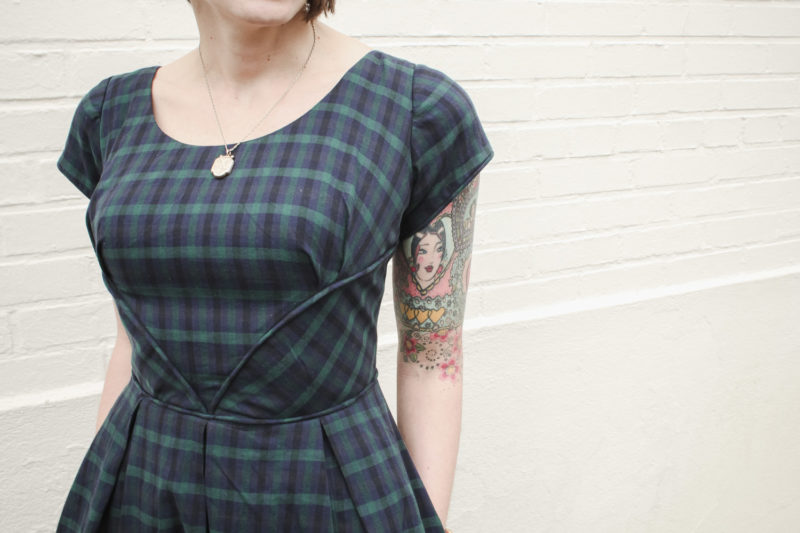
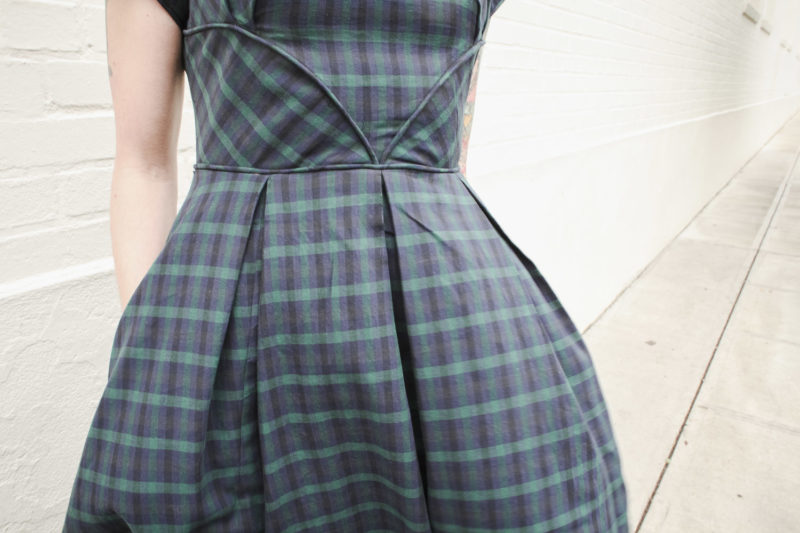
- Bias panels: I cut the waist panels on the bias, which I definitely recommend if you’re sewing with a plaid! To give them more stability so they don’t stretch and sag, I interfaced both panels with lightweight knit interfacing.
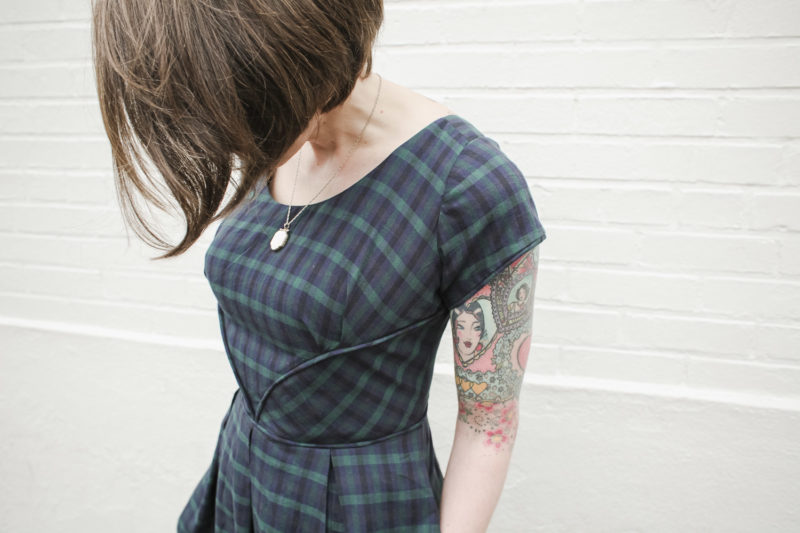
- Piping: I made my own piping to emphasize the pretty seamlines and applied it at the bodice seams, waist seam, and sleeve edges.
- Bust adjustment: I’m currently somewhere between a size 2 and size 4, but my cup size is 32D, so I decided to do a slight FBA on this one. If you want to see how this is done, you should definitely join the upcoming sewalong! Katie’s going to walk through bust adjustments with you.
- Other small adjustments. Because this fabric stretched out SO much, I did have to take the dress in a little as I was assembling it, making some adjustments here and there to make it a little smaller where needed.
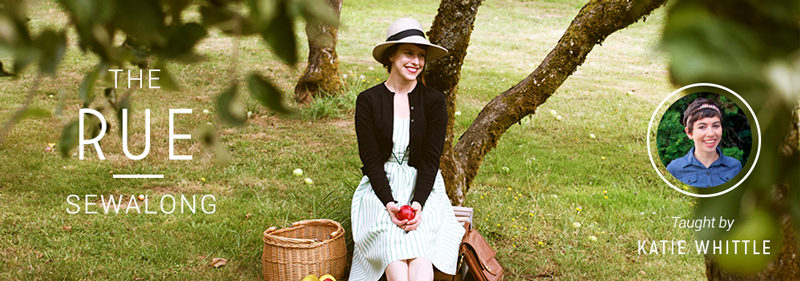
Join the Sewalong!
Want to make a Rue with us? Learn how to adjust it? Have a supportive community where you can ask questions?
Join the Sewalong coming soon to sewalongs.com!
Comments
Susan
September 7, 2016 #
Wow! Beautiful dress!
Sue
September 7, 2016 #
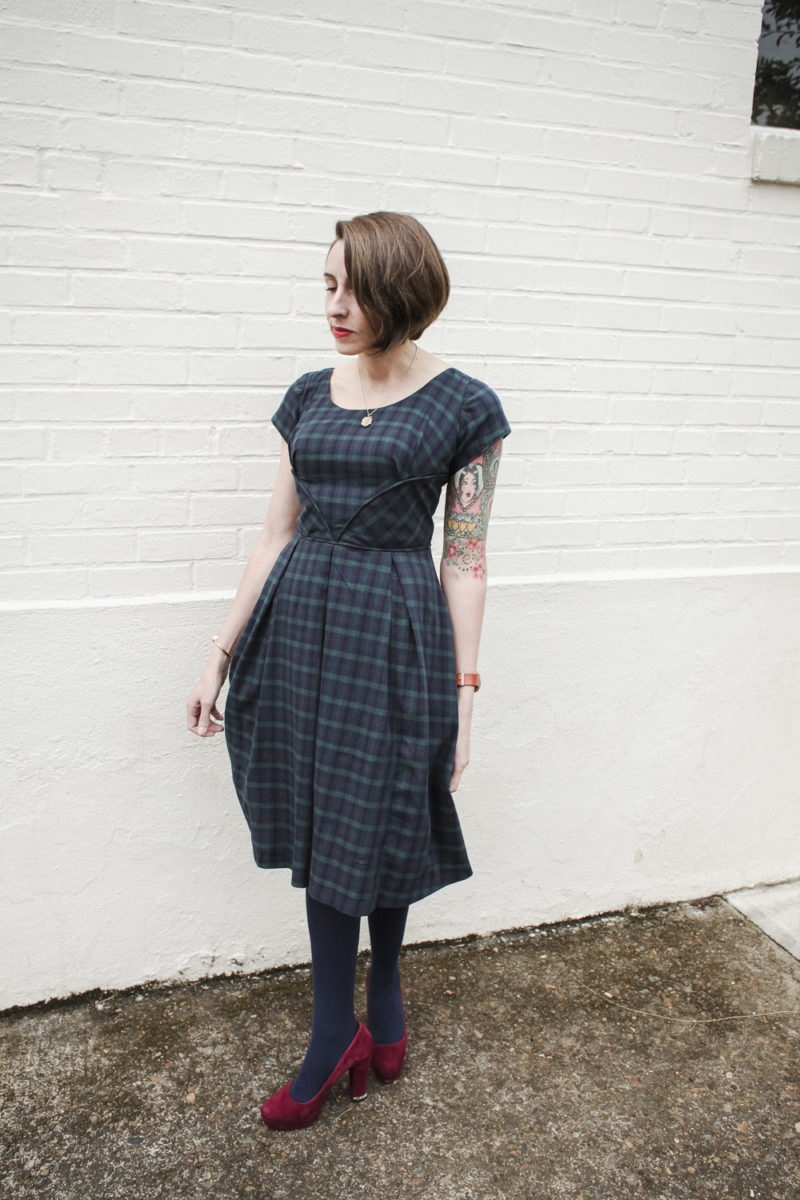
Loving this look! I am so interested in how to adjust the bust for this, having just dipped my toe into FBAs (only done 1 on a princes-seamed bodice and 1 on a darted bodice). It looks like the v-seamline in this version has the seam laying well below your bust, whereas on the samples/other versions, it seems to lay up higher, on top of the bust.
Sarai
September 7, 2016 #
Yes, that seam has shaping and lies on the underside of the bust. My FBA and the fabric brought this seam lower, which you can pretty much fit to your preference. The other one I made left this seam higher and gives more of that 1950s high bust fit.
Sue
September 7, 2016 #
Cool — I really like the look of it lower, too! Thanks for sharing.
Erica
September 7, 2016 #
This version is lovely. I would buy the pattern if it were drafted to fit like this, with the piped seam under the bust instead of across it. It sounds like this fit is due to a combo of an FBA and the (unplanned) fabric stretching, though?
Sarai
September 7, 2016 #
Yep, but it’s an easy adjustment. Basically, you can lengthen the upper bodice by 1/2 inch or so, depending on your body. Katie’s going to cover bust adjustments in detail in the sewalong, though.
Jordynn
September 7, 2016 #
I really love the details of this dress! I’m making my wedding dress for the beginning November and I think that Rue is perfect for the bodice!! I’m definitely joining the sewalong :)
Dana Tougas
September 7, 2016 #
Love this plaid version, especially with the FBA where the lines are below the bust.
Colleen
September 7, 2016 #
I’m sold now. This dress in this plaid. For me, plaid will always mean black wafch. There is no other. …
shannon
September 7, 2016 #
Will the sewalong show how to lower the v-seam lines to below the bust without a FBA? I’m a c-cup and really like the look of the lines below the bust, but am not confident in figuring out how to alter the pattern without some guidance.
Sarai
September 7, 2016 #
Actually, yes, Katie’s planning to include this adjustment!
shannon
September 7, 2016 #
Yay!!! Perfect!
Gabrielle UpSewLate
September 7, 2016 #
It’s beautiful on you – great fit, lovely style, and the colours in the plaid really suit you!
Jacqui
September 7, 2016 #
I love this so much. Making it as soon as I have a waist again!
Katie
September 7, 2016 #
This dress is perfection!!! So in love with this new pattern.
Valentina
September 7, 2016 #
I liked the first version you posted of this dress (sample dress) but I love this one! I think that the lower bust adjustment is very flattering.
Congratulations
Betty Jordan Wester
September 7, 2016 #
Wow! This is so cute!
Jennifer O.
September 8, 2016 #
Beautiful dress! I love the plaid and the piping. Do you think we could see a picture of the back of the dress?
PsychicKathleen
September 8, 2016 #
So beautiful Sarai! The fit is just awe inspiring and the fabric SO daring! You have just the right shape for this dress (sigh!) I know I would fail to showcase this lovely dress so well :)
Amy Burkard
September 8, 2016 #
Love the return to vintage style! I am wondering if you have a crinoline under your plaid version? The skirt seems to have a fair amount of structure. Thanks.
Sarai
September 8, 2016 #
Nope, but the skirt is fully lined with a cotton batiste, so that gives it more volume. :)
Cathi
September 8, 2016 #
I love the dress and am looking forward to making it! I’m a bit new to sewing, so I have a question about stay stitching. I typically serge the edges of all my pattern pieces before sewing. Can that work as stay stitching, or is it still necessary to stay stitch before I serge?
Sarai
September 8, 2016 #
Definitely staystitch before you serge, for two reasons. First, when you staystitch, you’re stitching very close to the actual seamline, which prevents stretching where you need it most. Second, serging/overlocking stitches stretch, which is why you can use a serger to sew knits. So even if you serge, your fabric can continue to stretch out. In fact, the handling involved in serging will probably contribute to your curved edges stretching if it isn’t staystitched first. HTH! :)
Justine
September 8, 2016 #
This is so perfect on you! Really adorable.
SJ Kurtz
September 8, 2016 #
Nice plaid work (love plaid) and good suggestions about stay stitching. This version with the lower seam – now below/off the bust – is a great improvement in my mind on the dress as presented. No side to side seams on/over the bust please.
Saritha
September 8, 2016 #
The dress looks lovely on you. I wanted to try my hand at using plaid for the sew-along, but was hesitant having never done it before. This post was just what I was looking for. Thank you for the tips!!
Mariana
September 10, 2016 #
This is the first garment made out of the Rue pattern that I really like. I’m sad it was just an accident, though. If the pattern were just like this, I would have bought it as soon as I got the promo email. And no, I really don’t have time to modify a pattern that much in order to get the look I want. I wish you considered adding another version to the pattern, where this look is a standard
Dominique
September 14, 2016 #
quick question…do you think this pattern would work with the michael miller regatta border fabric? i’m looking for a pattern that will incorporate the stripes in the bodice as well.
Sarai
September 14, 2016 #
Yes, you can make that work! You can play with the direction of the stripes in the bodice, like we did in the striped sample. For the skirt, if you want to use the border around the bottom, you could swap the skirt for a simple dirndl style. A dirndl is just a big rectangle gathered at the top, so you can keep the hem straight at the bottom and the border print will look great. :)