
 Sign In

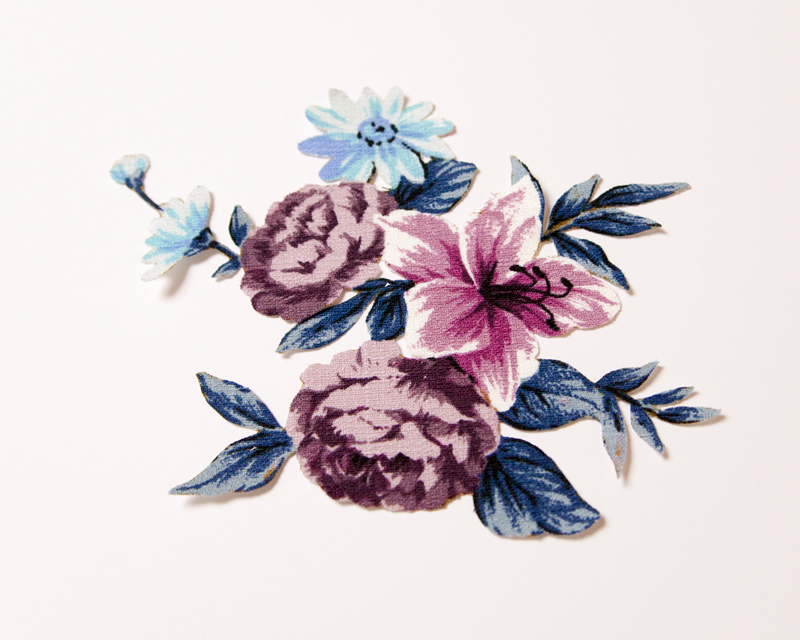
How to Create Raw-Edge Appliqué
Appliqué is a simple way to elevate your sewing projects and add customizations without fiddling with pattern alterations.
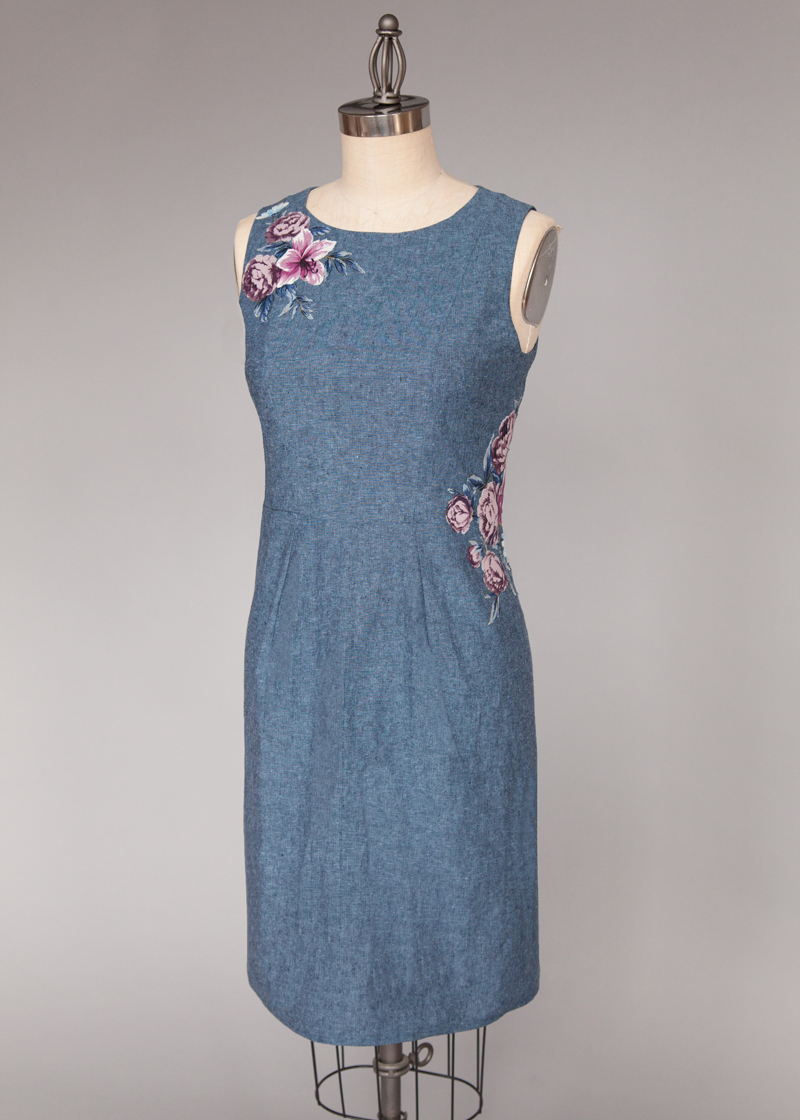
We recently shared some lovely appliqué inspiration here on the blog. This week, we made a Phoebe dress with delicate floral appliqués.

Read on to see how the appliqué motif is created and applied, and learn some helpful tips and tricks if you want to add a similar appliqué to your garment.
Materials
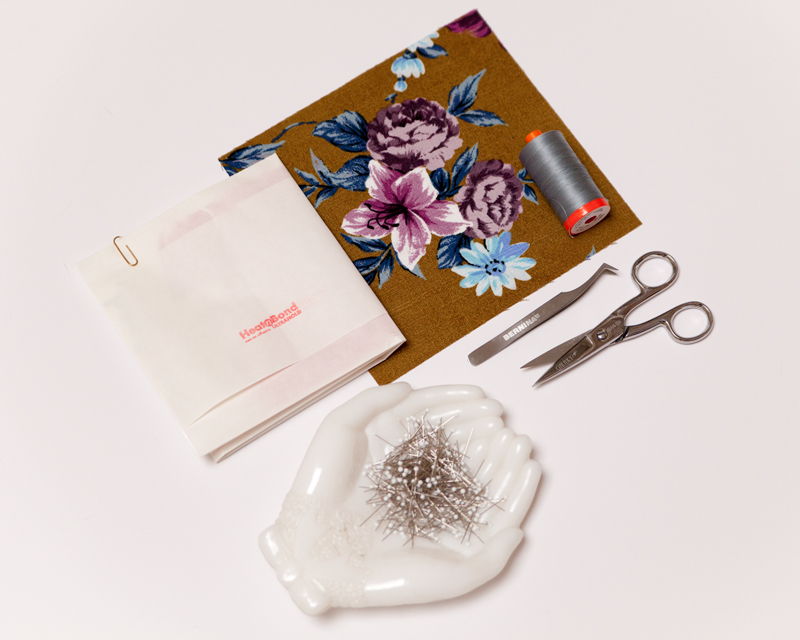
- Appliqué fabric
- A finished or nearly-finished garment
- Iron-on adhesive
- All-purpose polyester thread in a matching color (match the color of your motif, not your garment)
- Tweezers
- Sharp scissors
- Fine pins
Preparing the Appliqué Motif
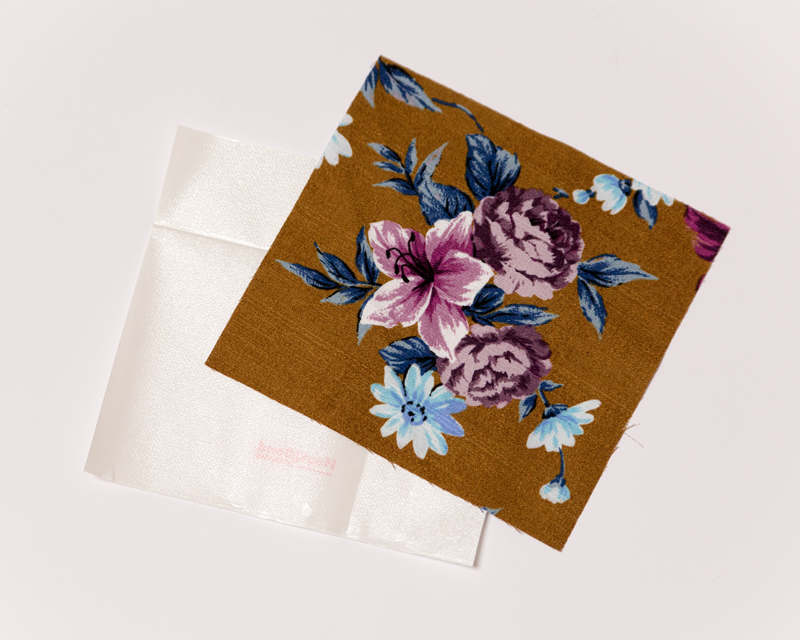
1) Cut one piece of your appliqué fabric a few inches larger than your design. Cut one piece of iron-on adhesive that is the same size as the appliqué fabric piece.
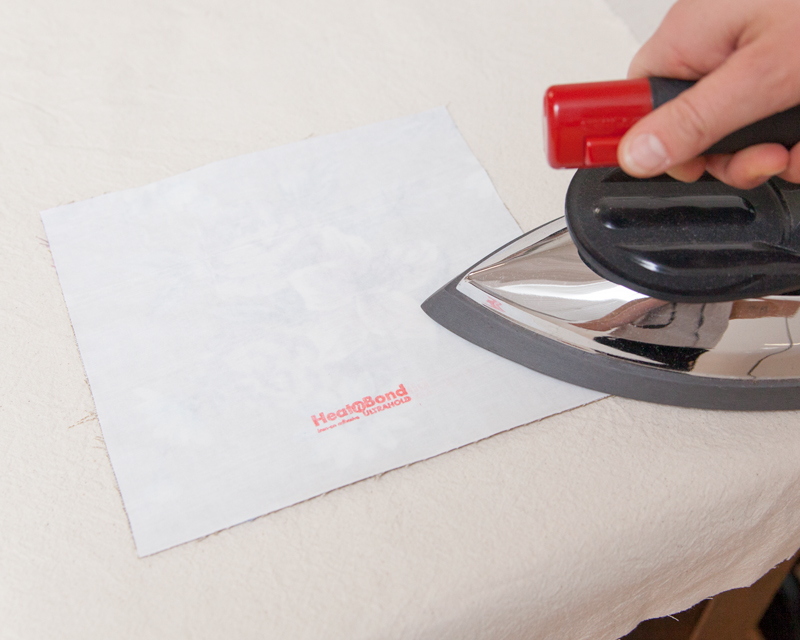
2) Align the iron-on adhesive paper and appliqué fabric, with the textured, adhesive side of the paper and the wrong side of the fabric together. Press with a dry iron on high heat.
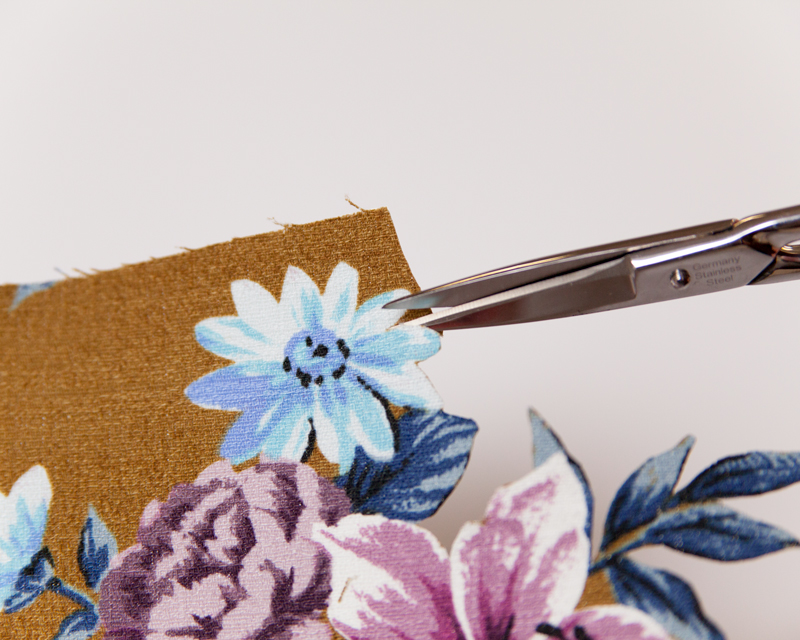
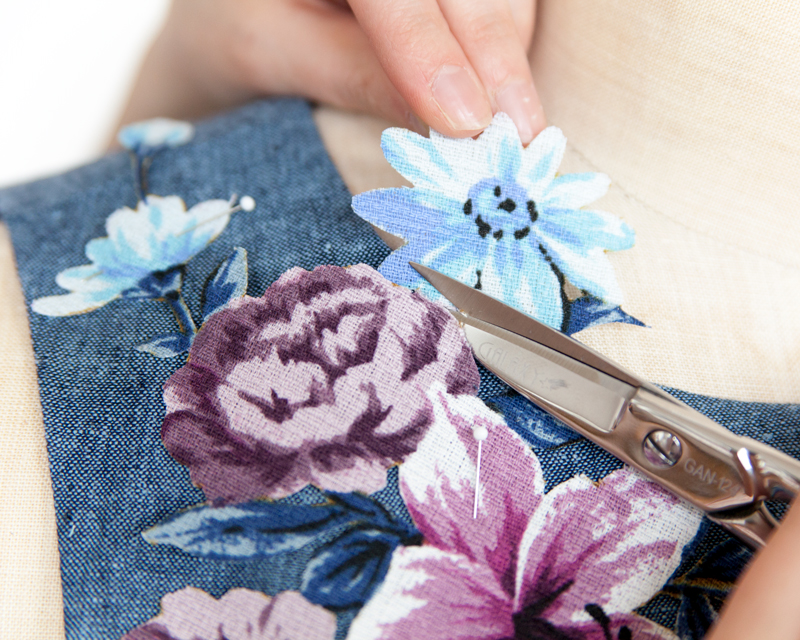
3) Cut your design out with a sharp pair of scissors. Some prefer specialty appliqué scissors with double-pointed blades to allow you to cut sharp angles and tight corners. A sharp pair of small scissors will work just fine.
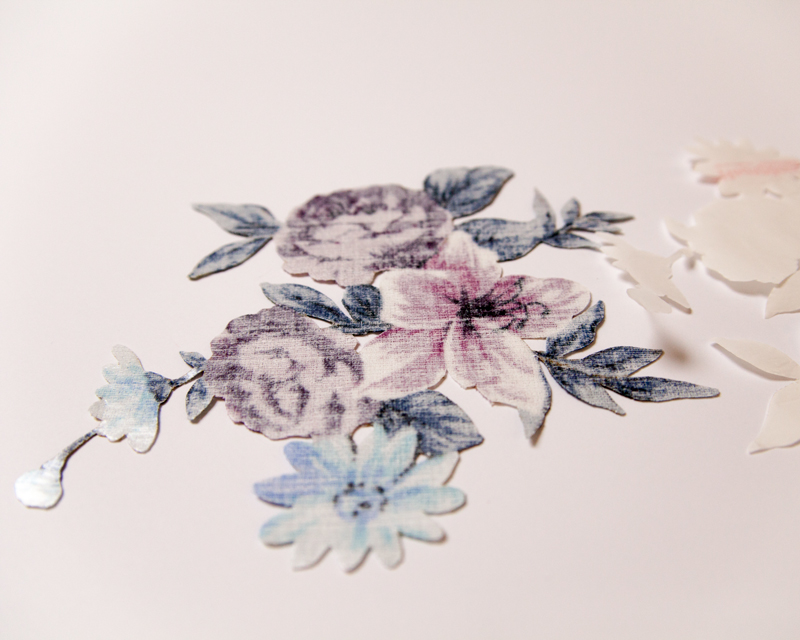
As you can see, my motif has negative space within it. Cut away those little bits so that the garment’s fabric peeks through. When sewing, these raw edges should be sewn down as well.
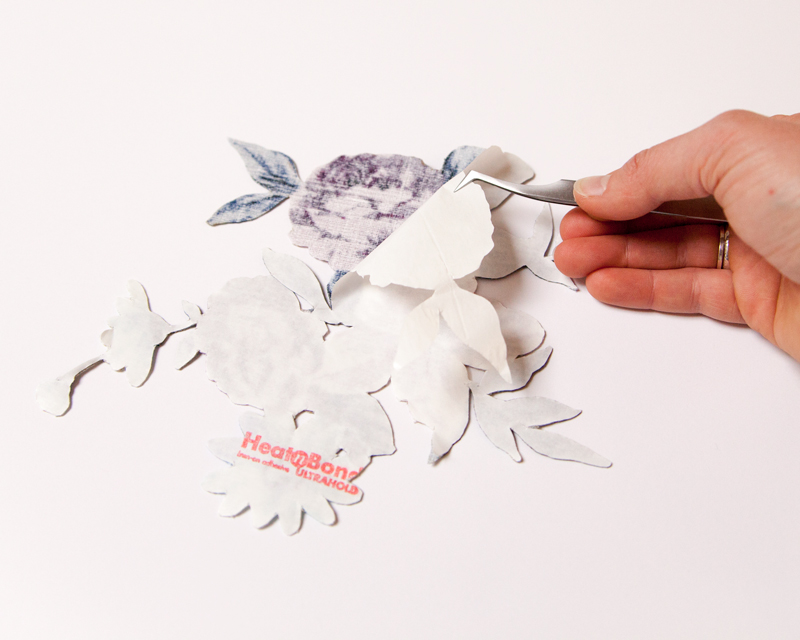
4) Peel away the adhesive paper. Use tweezers to peel away the paper from difficult areas, such as points and fragile sections of the motif.
Placing the Motif
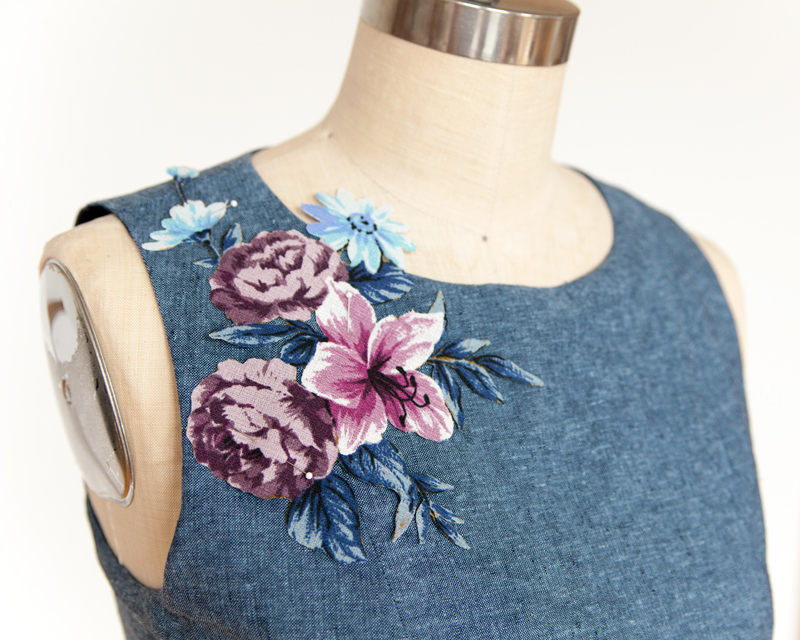
1) Place the garment on a hanger or a dress form to decide what appliqué placement looks best. Move the motif around, and try changing the direction or angle before settling on a final placement.
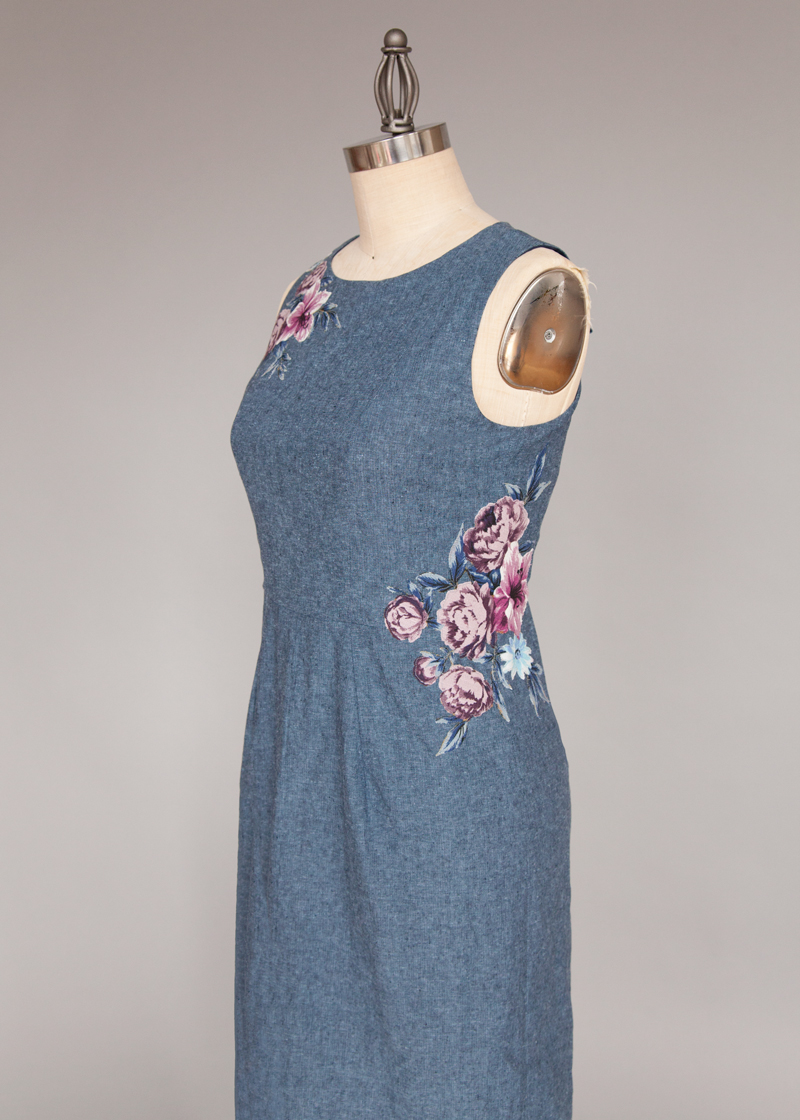
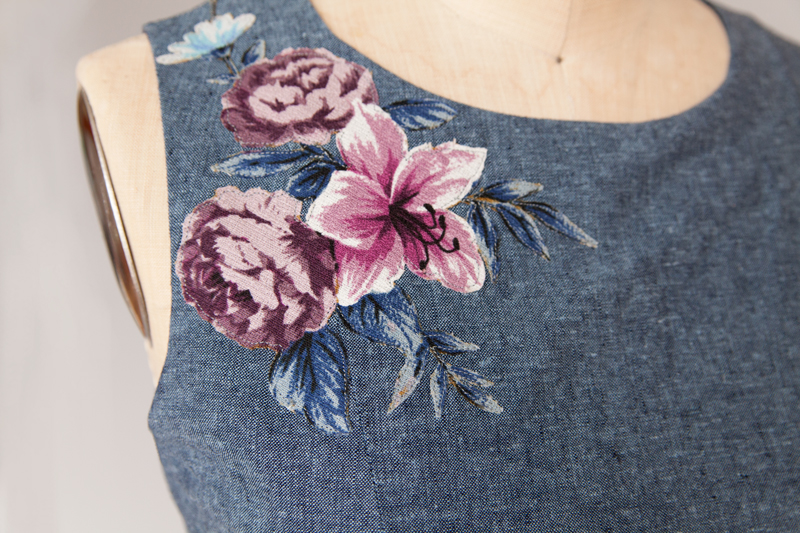
On this Phoebe dress, the floral motif fits perfectly at the shoulder, aside from the wandering daisy and leaf that extend into the neckline.
2) After deciding on a motif placement, cut away any unwanted sections and pin the motif to the garment.
Attaching the Motif
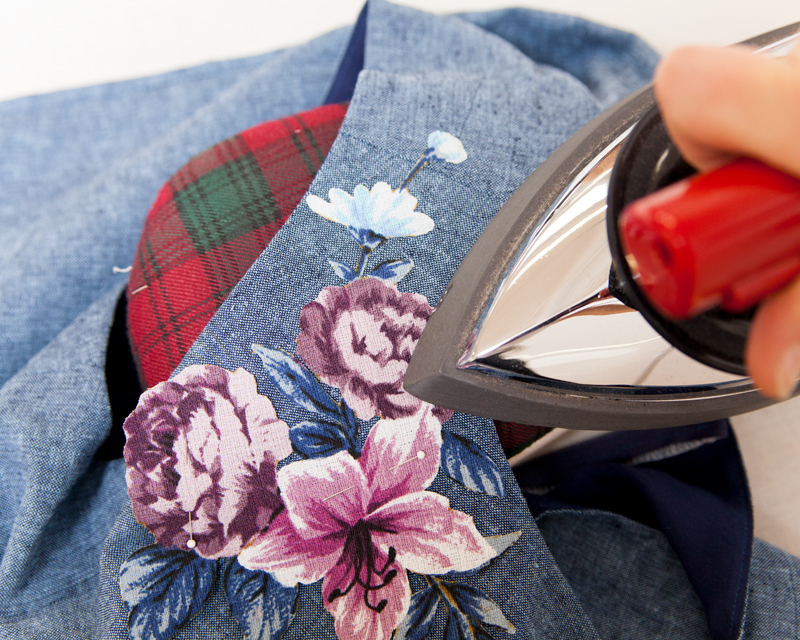
1) Secure the motif to the garment by pressing from the right side with a dry iron on high heat.
To avoid bubbling, start from the top of the motif and work your way down. Place a tailor’s ham under the garment if the motif is shaped in any way. This will help the motif and garment retain the intended shaping.
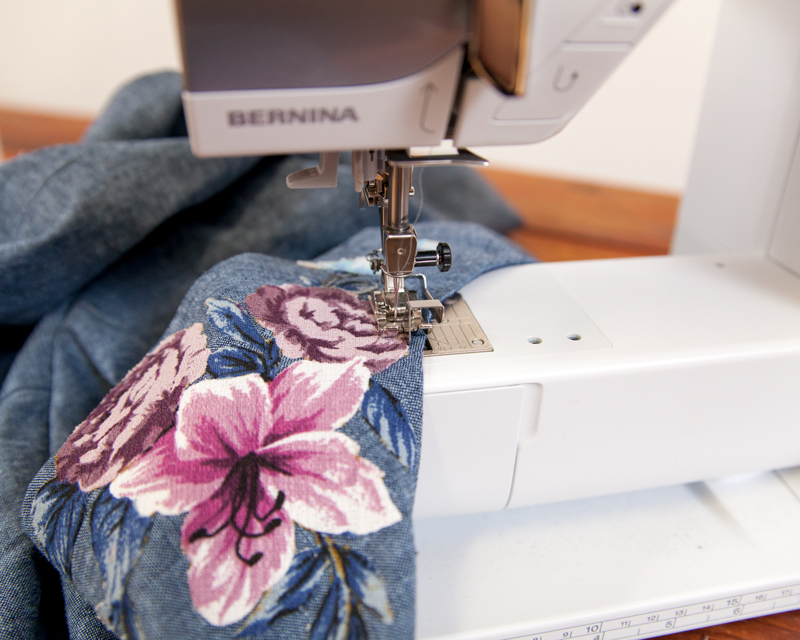
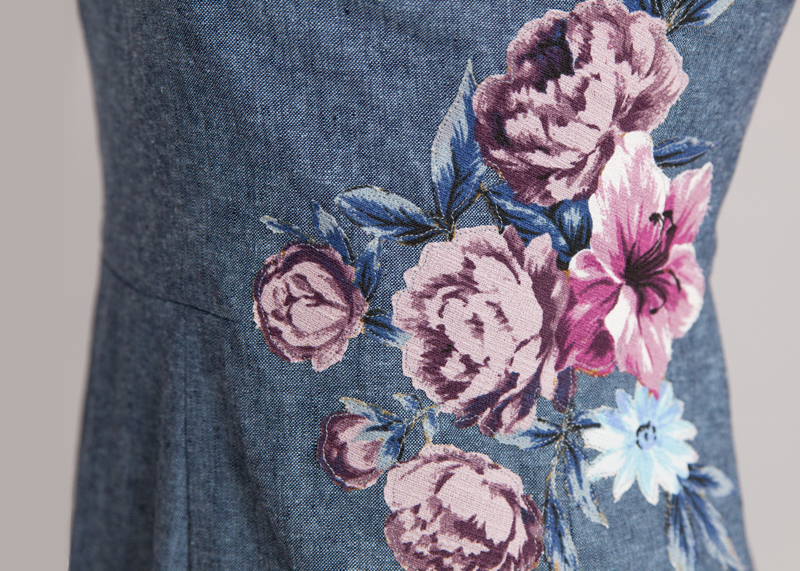
2) Sewing very close to the edge, stitch all the way around the appliqué motif. Backstitch at the beginning and end of stitching and clip threads. If your design has additional negative space within the motif, stitch along those edges as well.
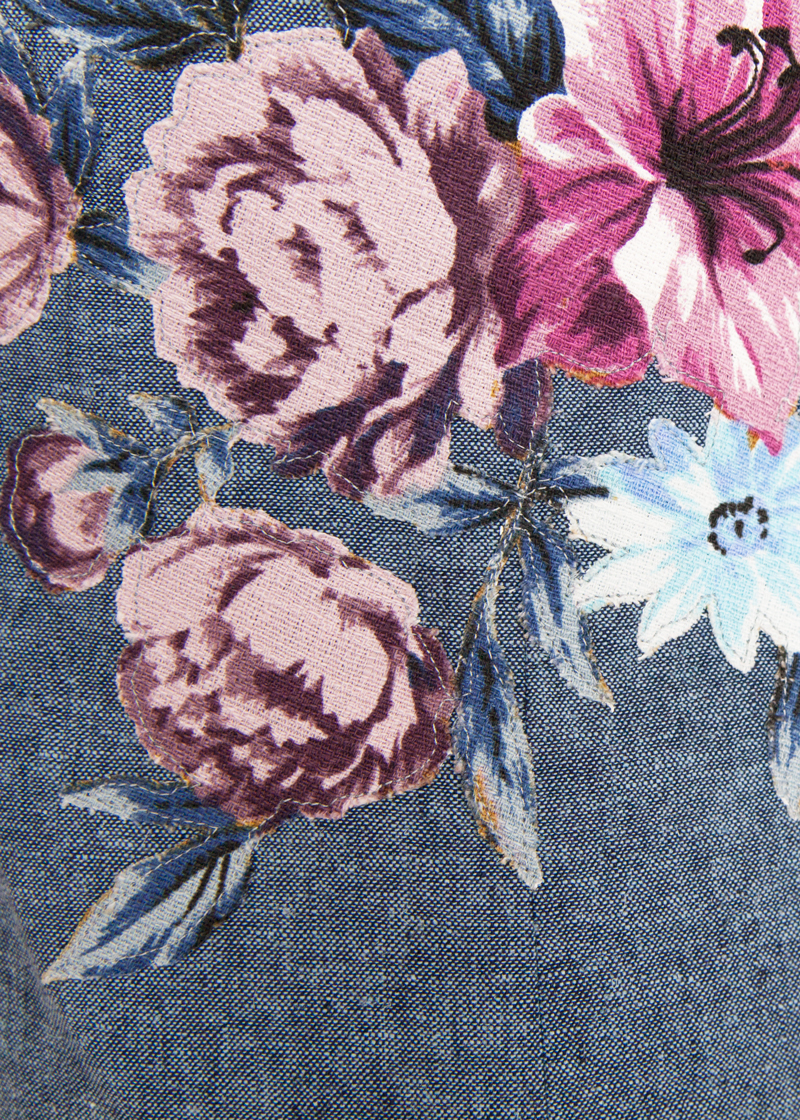
After washing the garment, the motif fabric will fray up to the stitch line.
Tips for Sewing Motifs
- Use an edgestitch foot to maintain a consistent distance between the raw edge and stitching. Align the edge guide of the foot with the raw edge of the appliqué while sewing. Then, move the needle position over a few notches to either the right or left to set the stitching distance.
- If your machine has a needle-up or needle-down setting, set your machine to stop with the needle down whenever you stop sewing. This will speed up your sewing because there will be no need to use your fly wheel for pivoting. You may go one step further and attach a knee lift to your machine to free up your hands for easier maneuvering of the fabric.
- Change the stitch length. A smaller stitch length will help you sew the tight corners and points of the motif evenly.
- Looking for more appliqué techniques? Read this Modern Appliqué article to learn hand appliqué and other machine appliqué techniques.
All of the fabrics used for this tutorial can be purchased from Bolt Fabrics, including the stunning vintage-inspired floral barkcloth used for the appliqué motifs.
Comments
Kelsey
April 25, 2017 #
this is such a helpful tutorial! I never realized how easy it is to add an applique. I can’t wait to give it a try :)
Zoe
April 25, 2017 #
Oh that looks amazing! I really want to try it out!
Nadia Létourneau
April 25, 2017 #
I love the effect of this aplique technic, thank you
Kat Boyce
April 26, 2017 #
This is a great tutorial, and your applique placement is spot-on.
Patty S.
April 26, 2017 #
OMG, that is just SO lovely! May I ask what fabric you used for the ‘Phoebe’ dress used to apply the applique? Very pretty texture and color fabric, and it really sets off the applique barkcloth fabric!!
Katie
April 26, 2017 #
Hey Patty! The fabric is Yarn Dyed Essex Linen/Cotton by Robert Kaufman.
Patty S.
April 26, 2017 #
Thank you, Katie! Your project really was stunning! I’m going to try to replicate this, only using one of your top patterns!
Amy
April 26, 2017 #
I’m a little confused on one point. Is the heat bond sticky on both sides since you iron it down once to the wrong side for stability and then re-iron it onto the dress itself for placement adherence? I’ve so far only purchased fusible that was sticky on one side.
Thank you.
Katie
April 26, 2017 #
Hey Amy!
The Heat n Bond is adhesive on both sides. First, the textured side is placed face down onto the fabric and pressed. The paper backing is then peeled off, revealing the other adhesive side.
Jen
April 26, 2017 #
Great tutorial and absolutely PERFECT placement/fabric/pattern choices!! If I wasn’t so inspired, I’d be super jealous ?
Ava
April 26, 2017 #
very helpful. i hadn’t realized you could use the same type of garment fabric for the appliqué. would regular quilting cotton work also if the garment was challis, lawn, or rayon or would you need to use similar weight/drape of fabric for the appliqué. having more examples of this would be great for a follow up post.
Katie
April 26, 2017 #
Check out the Seamwork magazine article Modern Appliqué. You’ll learn about pairing fabrics as well as two more techniques for attaching motifs.
catsandpizza
April 26, 2017 #
Gorgeous and a very fun project!
Ava
April 26, 2017 #
Great, somehow I missed that article.
Jane
April 28, 2017 #
Wow, this is gorgeous! I’m just taking my first steps into sewing, but I totally love to read your blog. It always gives me thousand of ideas and a lot inspiration. Thanks a lot for providing all those information!
Marie
May 1, 2017 #
I love the idea of fraying on the edges. Does it fray if the heat and bond is right up to the cut edge?
Katie
May 2, 2017 #
Hey Marie! Yes, the fabric will still fray when Heat and Bond is on the cut edge.
Marie
May 2, 2017 #
Great! Can’t wait to give this a try!
Piper
May 2, 2017 #
You can also do applique with knits! Use a zigzag stitch or hand stitch to secure the applique. A great way to customize a boring tee shirt.
Cecy
May 3, 2017 #
Who wants the edge of applique to fray? That is not a good look!!!
Hannah
May 16, 2017 #
Thats amazing. I am new to sewing, taking online classes too. I have subscribed to many tutorial blogs and yours is one of the blogs i have subscribed. I never knew that adding an applique is so easy or may be your way of adding applique makes me think its easy :). Thanks for sharing this tutorial. One other thing that really helped me was this article https://sizzlestitch.com/sewing-measuring-tools/. about all the measuring tools there are, maybe it can help others too!